Resize
Crop
Adjust
Filters
Effects
Text
Border
Stickers
Draw
Elements
Resize
Choose new canvas sizes, and we'll adjust your design to a ready-to-publish
perfect fit.
Custom
Dimensions

Original
1024 x 1280

Instagram Story
1080 x 1920

Youtube Thumbnail
1280 x 720

Facebook Profile
1080 x 1080

Banner
468 x 60

Large Rectangle
336 x 280

LinkedIn Post
1200 x 628

X post
1200 x 675

Billboard
970 x 250

Mobile Banner
320 x 50

Desktop Wallpaper Background
1600 x 900

Instagram Post
1080 x 1350

Instagram Square
1080 x 1080

Facebook Post
1200 x 630

Logo
800 x 800

Facebook Story
1080 x 1920

Leaderboard
728 x 90

Portrait
300 x 1050

Facebook Cover Photo
820 x 312

Facebook Event Cover
1920 x 1080

LinkedIn Personal Banner
1584 x 396

X Header
1500 x 500

Small Square
200 x 200

Half Page
300 x 600

YouTube Cover
2560 x 1440
Presentation
1920 x 1080

Pinterest Pin
1000 x 1500

Postcard
1050 x 1500

Invitation (5x7)
1500 x 2100

Large Mobile Banner
320 x 100

Large Leaderboard
970 x 90

Twitch Cover
1920 x 480

Business Card
1050 x 600

X Profile
1080 x 1080

LinkedIn Company Banner
1128 x 191

Medium Rectangle
300 x 250

News Feeds & Right-hand Column Ads
1080 x 1080

Wide Skyscraper
160 x 600

Square
250 x 250

Feed Image & Audience Network
1200 x 628

Pinterest Long Pin
1000 x 2100

YouTube Profile
1080 x 1080

Youtube End Screen
1920 x 1080

Smartphone Interstitial Landscape
480 x 320

Smartphone Interstitial Portrait
320 x 480

Tablet Interstitial Landscape
1024 x 768

Tablet Interstitial Portrait
768 x 1024

Email Header
600 x 200

Blog Banner
560 x 315

Pinterest Profile
1080 x 1080

1 : 1 (Square)
2048 x 2048
3 : 4 (Portrait)
1536 x 2048
3 : 2 (Mid)
2048 x 1365
2 : 1 (Wide)
2048 x 1024

16 : 9 (Landscape)
2048 x 1152

Etsy Shop Cover
3360 x 840

T-shirt
4200 x 5400

Podcast Cover
3000 x 3000

Twitch Offline Banner
1920 x 1080

Patreon Cover
1600 x 400

Iphone x Background
1125 x 2436

Zoom Background
1920 x 1080

Flyer (8.5x11)
2550 x 3300

Poster (11x17)
3300 x 5100

Media Kit
2550 x 3330

Album Cover
3000 x 3000

Gift Certificate
2400 x 1125

Greeting Card (5x7)
1500 x 2100

Letterhead (8.5x11)
2550 x 3300

Lesson Plan
2550 x 3300

Infographic
800 x 2000

Resume
2450 x 3508

900 x 1500

1200 x 1800

1500 x 2100

2400 x 2400

2400 x 3000

2550 x 3300

2700 x 4800

3300 x 4800

3300 x 4200

1920 x 1080

1080 x 1920

500 x 500

42 x 59.4

1080 x 1080

29.7 x 21

1280 x 720

21 x 29.7

1000 x 1000

1920 x 480

800 x 2000

1200 x 628

1200 x 675

700 x 800

385 x 256

266 x 177

320 x 320

1080 x 566

1080 x 1350

170 x 170

1200 x 630

630 x 1200

1640 x 923

128 x 128

32 x 32

1584 x 396

300 x 300

1024 x 768

480 x 640

450 x 450

150 x 150

254 x 94

560 x 208

168 x 168

1958 x 745

2037 x 754

400 x 150

400 x 400

400 x 600

1400 x 1400

200 x 200

3000 x 3000

10800 x 7200

100 x 100

2480 x 520

800 x 200

840 x 840

196 x 196

12 x 12

1500 x 1500

600 x 314

250 x 250

400 x 514

2732 x 2732

18 x 18

120 x 30
Crop Image
Drag the corners to adjust crop area
Width x Height
Crop Options
Adjust
Adjustment
0
0
100
Filters

None
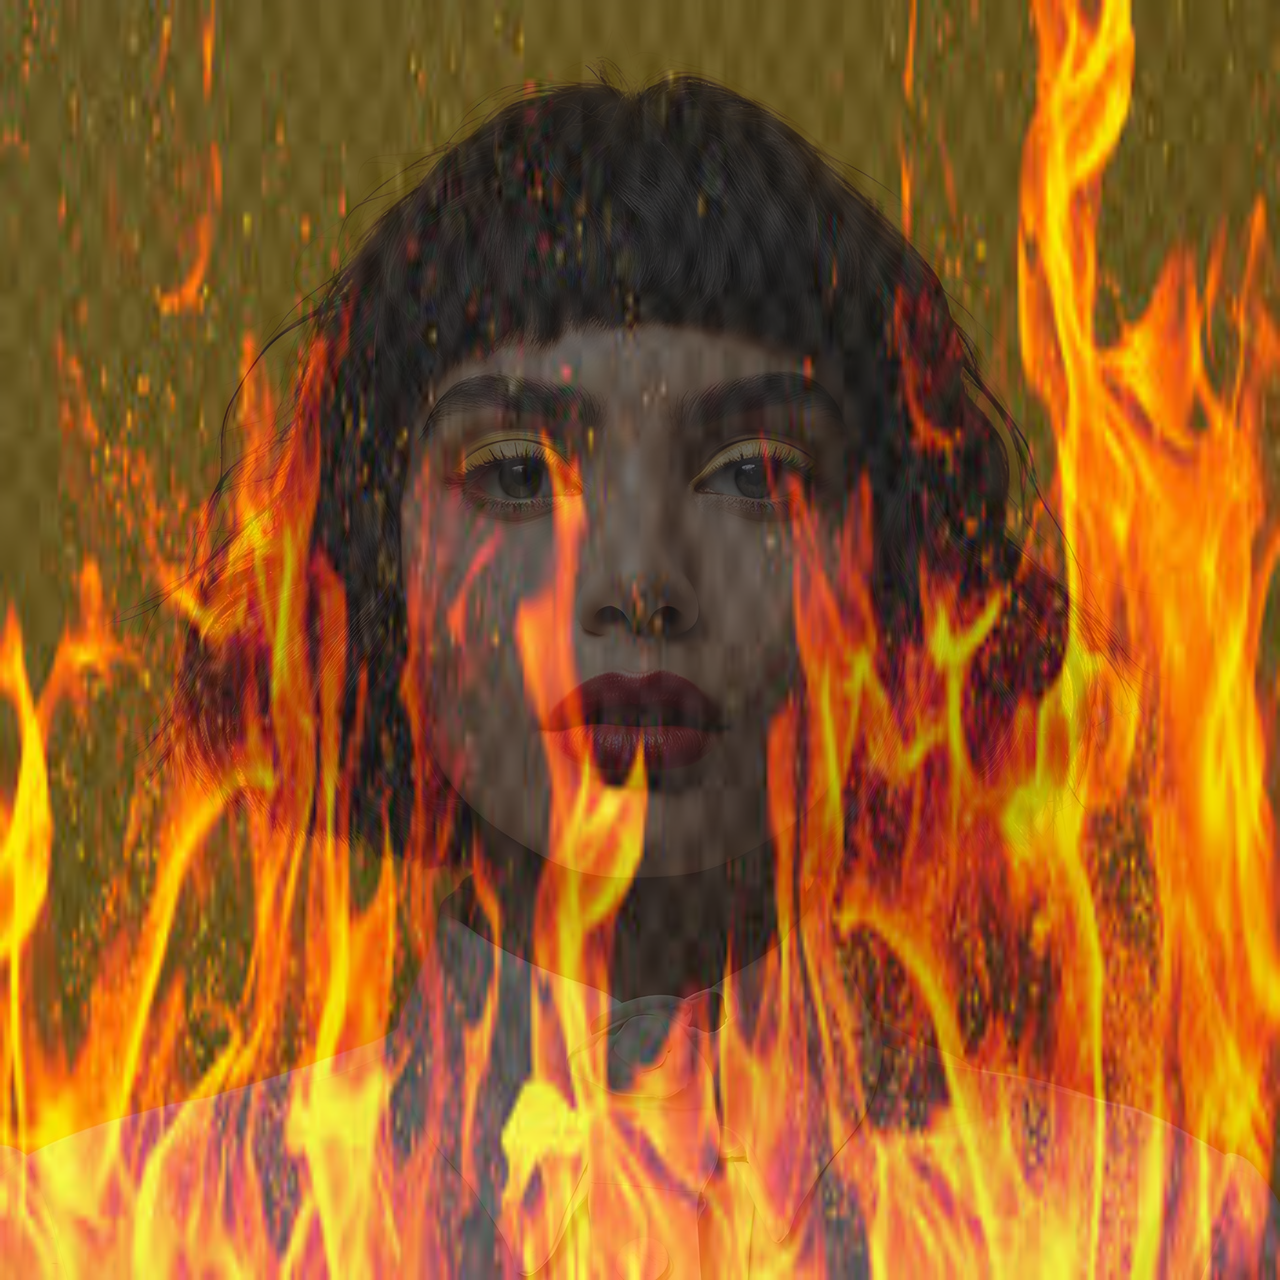
Fire
Edit Filter
Opacity
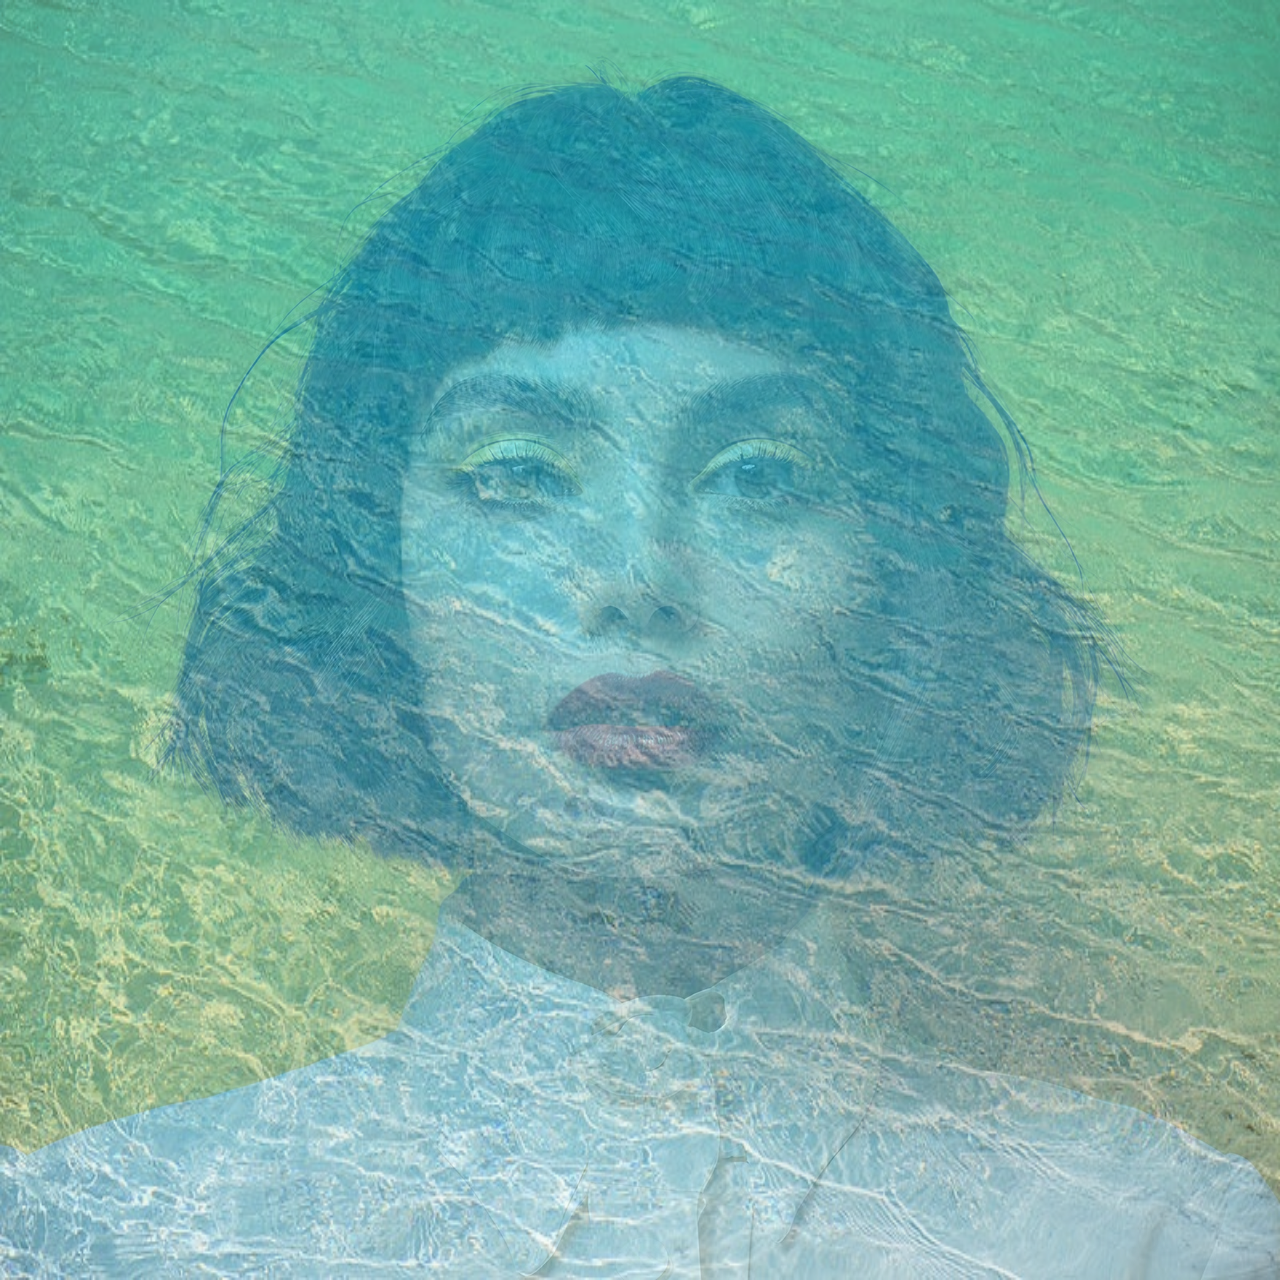
Water
Edit Filter
Opacity

Rainbow
Edit Filter
Opacity
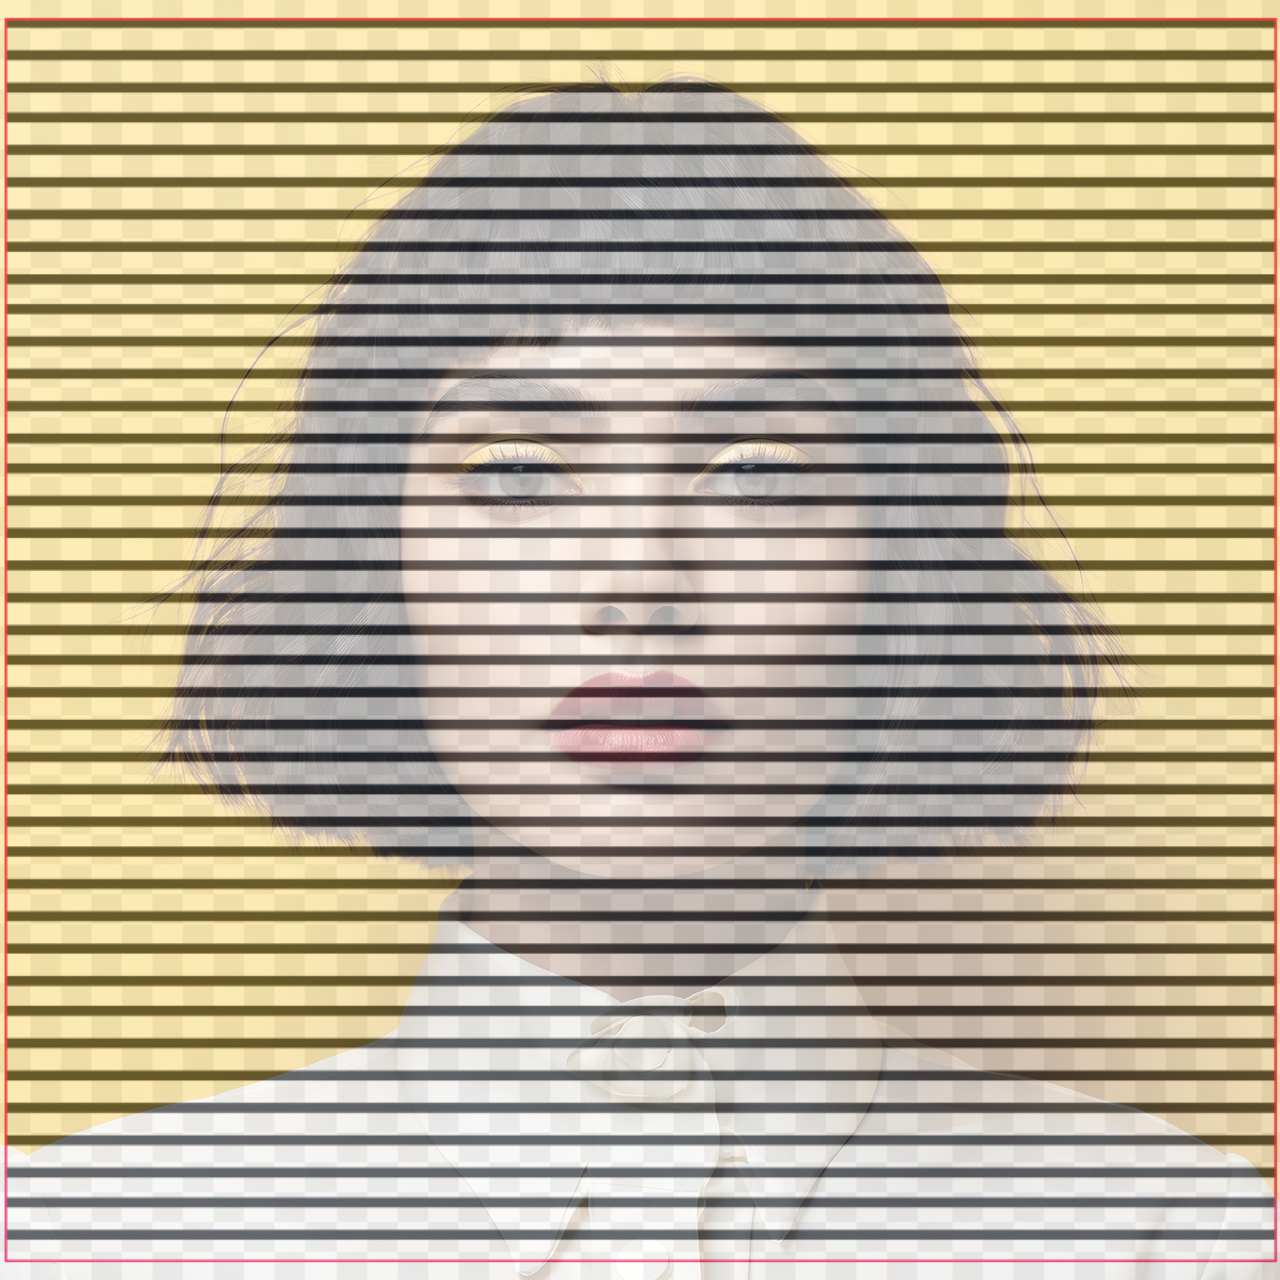
Lines
Edit Filter
Opacity

Lightning
Edit Filter
Opacity

Lens
Edit Filter
Opacity
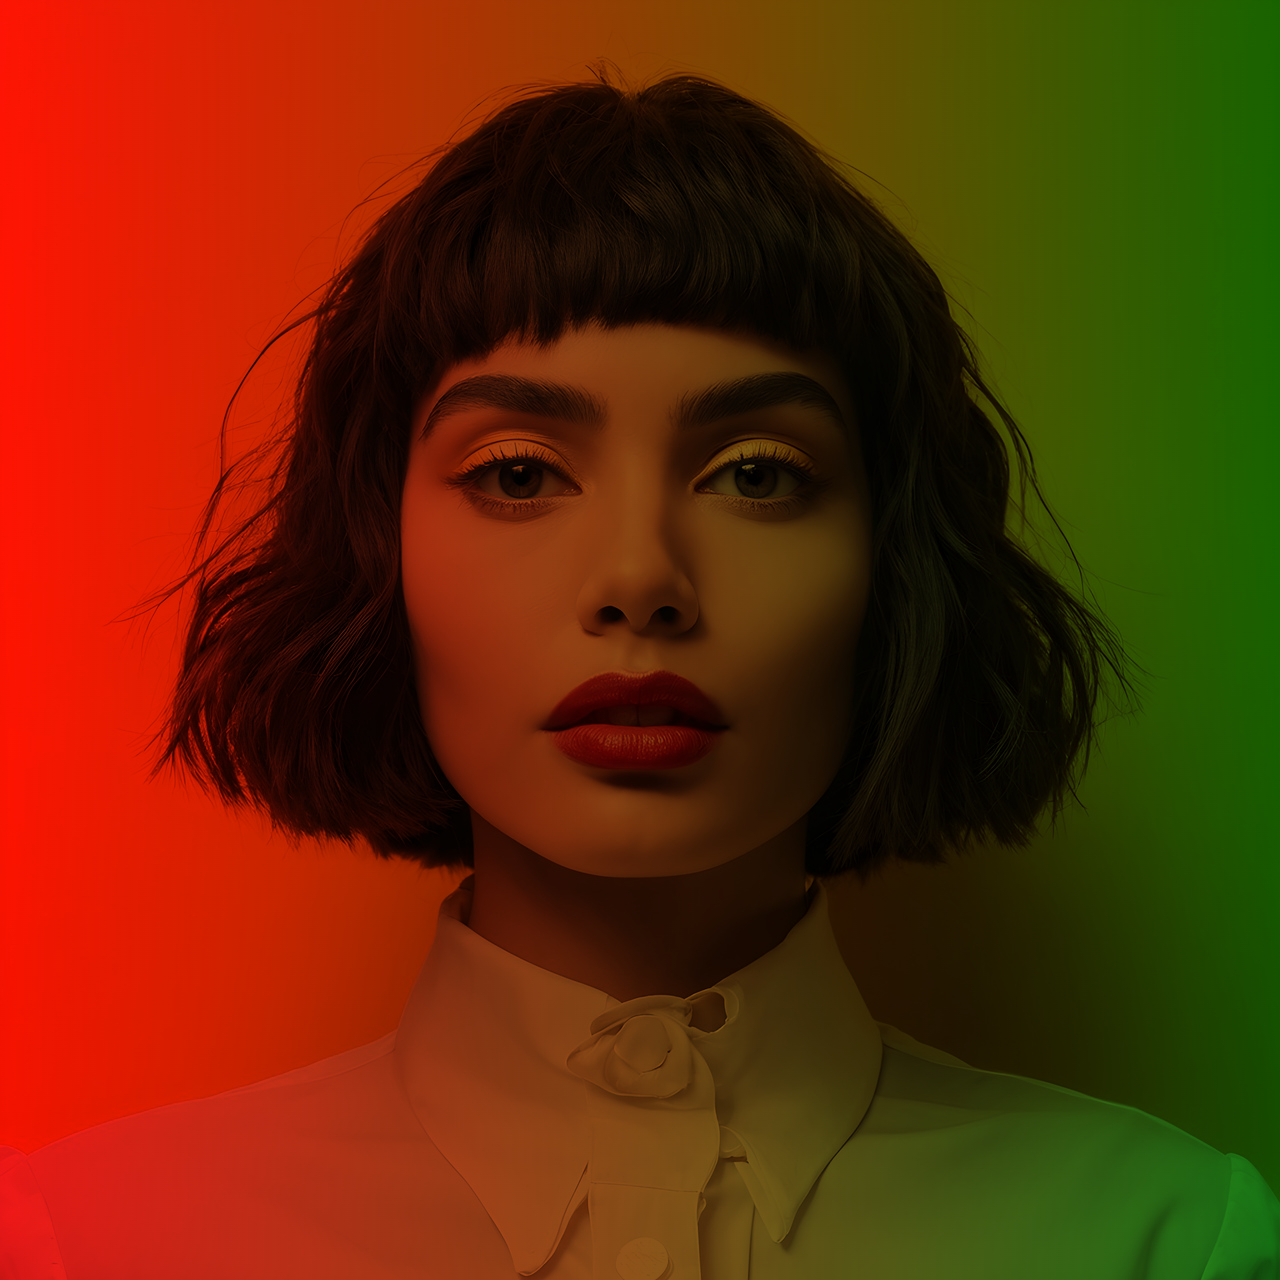
Gradient
Edit Filter
Choose Color

Tint
Edit Filter
Choose Color

Night

Bloom
Edit Filter
Threshold
Bloom Scale
Brightness
Blur
Quality

Alpha
Edit Filter
Alpha
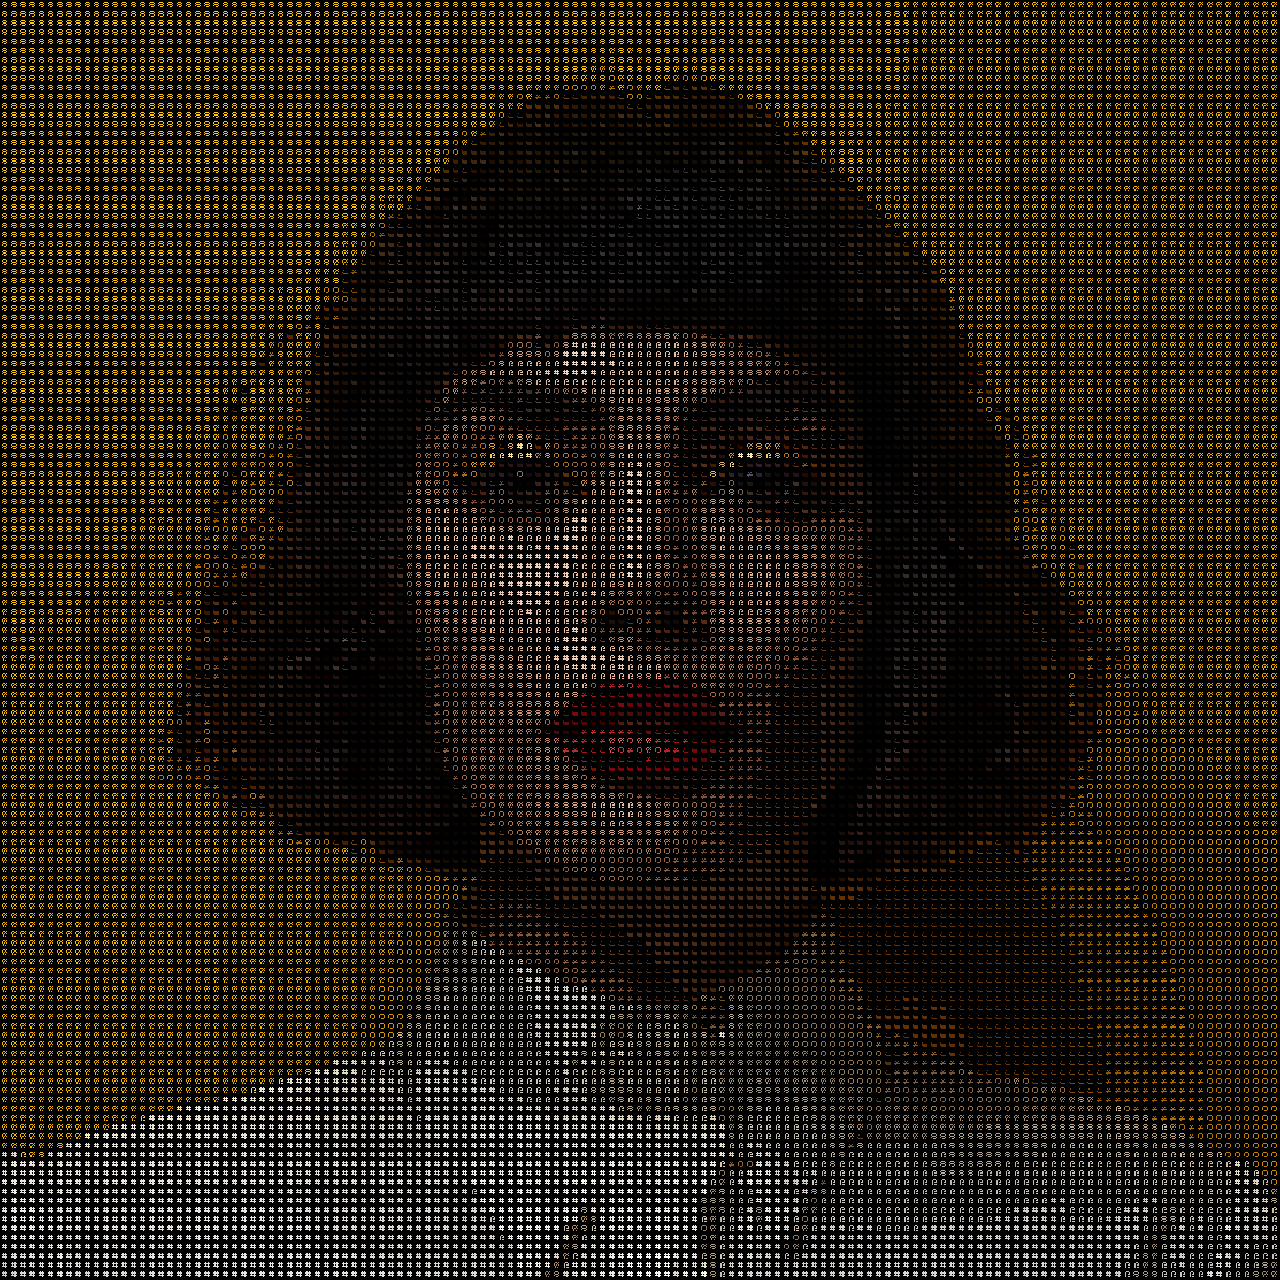
Ascii
Edit Filter
Size

Blur
Edit Filter
Blur

CRT
Edit Filter
Curvature
Line Width
Line Contrast
Line Direction
Noise
Noise Size
Vignetting
Vignetting Alpha
Vignetting Blur
Seed
Time
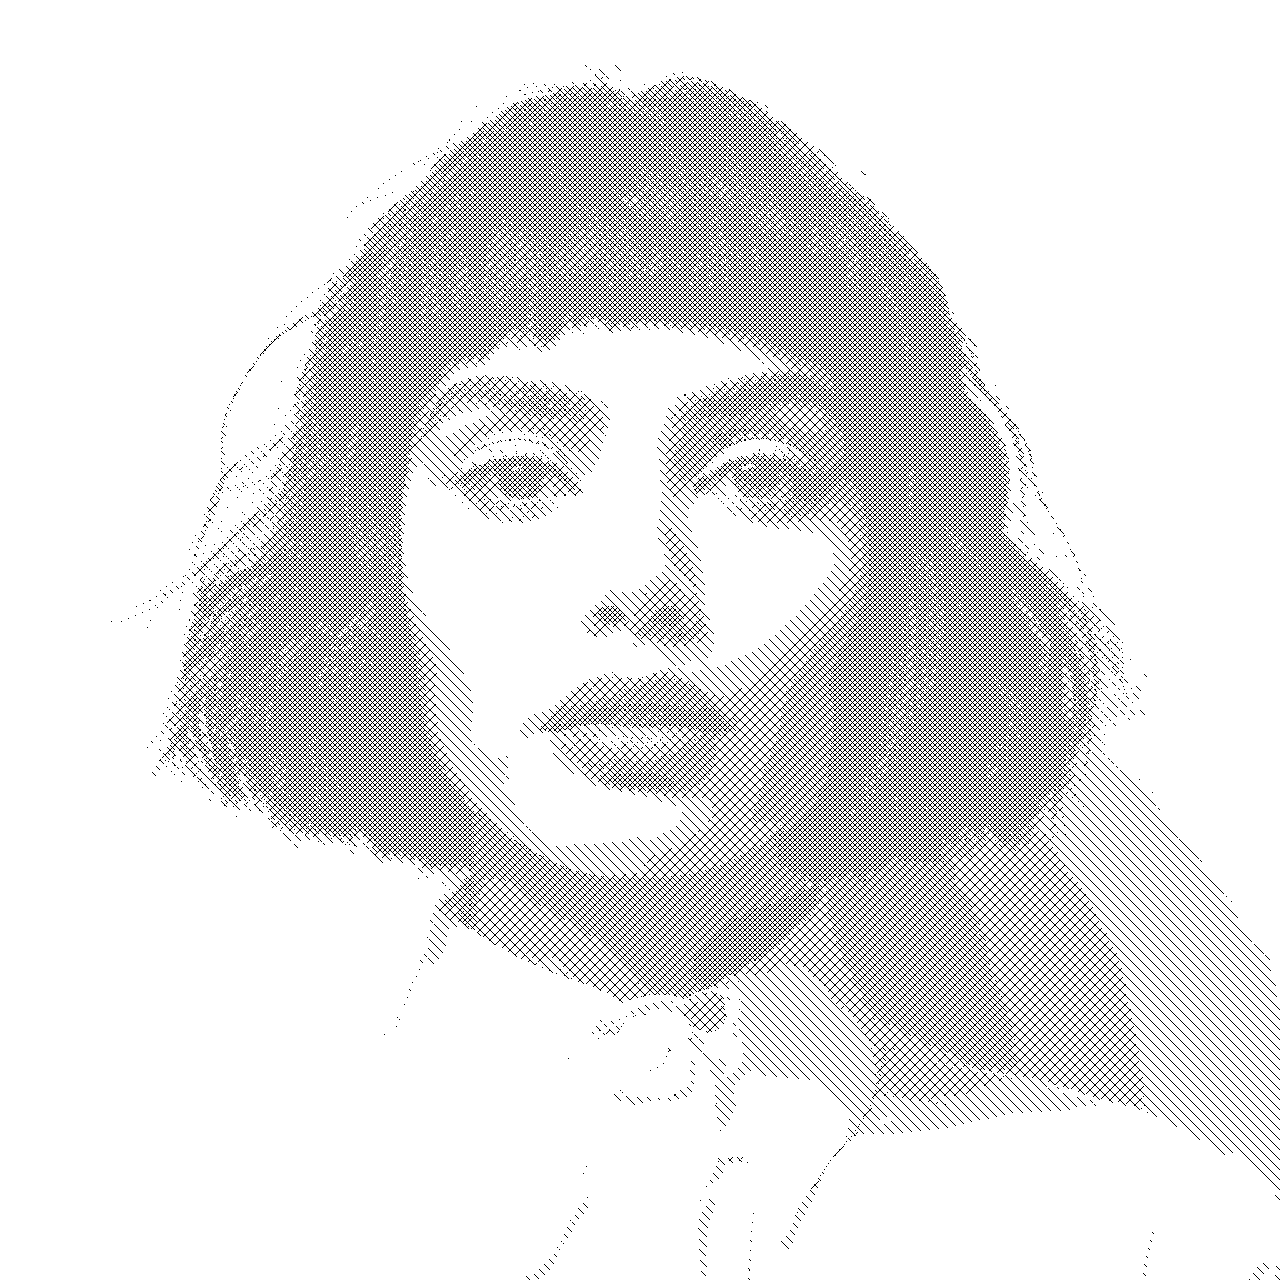
Cross Hatch

Godray
Edit Filter
Time
Gain
Lacunarity
Alpha
Center X
Center Y

Godray Parallel
Edit Filter
Time
Gain
Lacunarity
Alpha
Angle
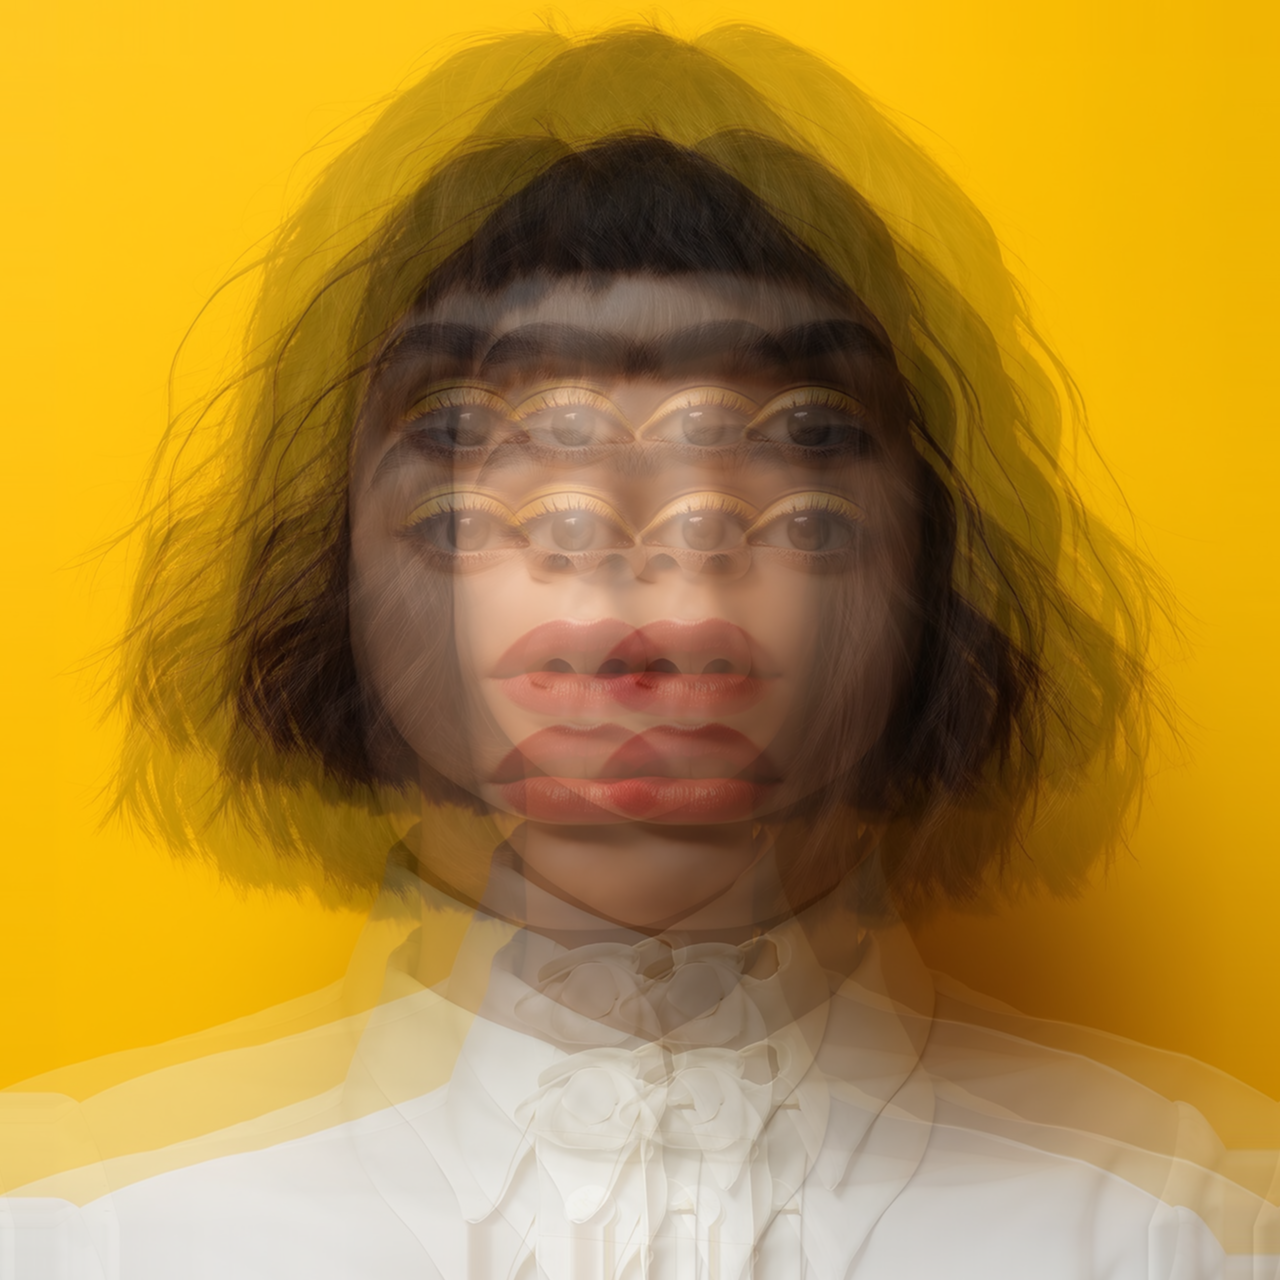
Kawase Blur
Edit Filter
Blur
Quality
Pixel Size X
Pixel Size Y

Motion Blur
Edit Filter
Velocity X
Velocity Y
Pixel Size X
Offset

Old Film
Edit Filter
Seed
Sepia
Noise
Noise Size
Scratch
Scratch Density
Scratch Width
Vignetting
Vignetting Alpha
Vignetting Blur
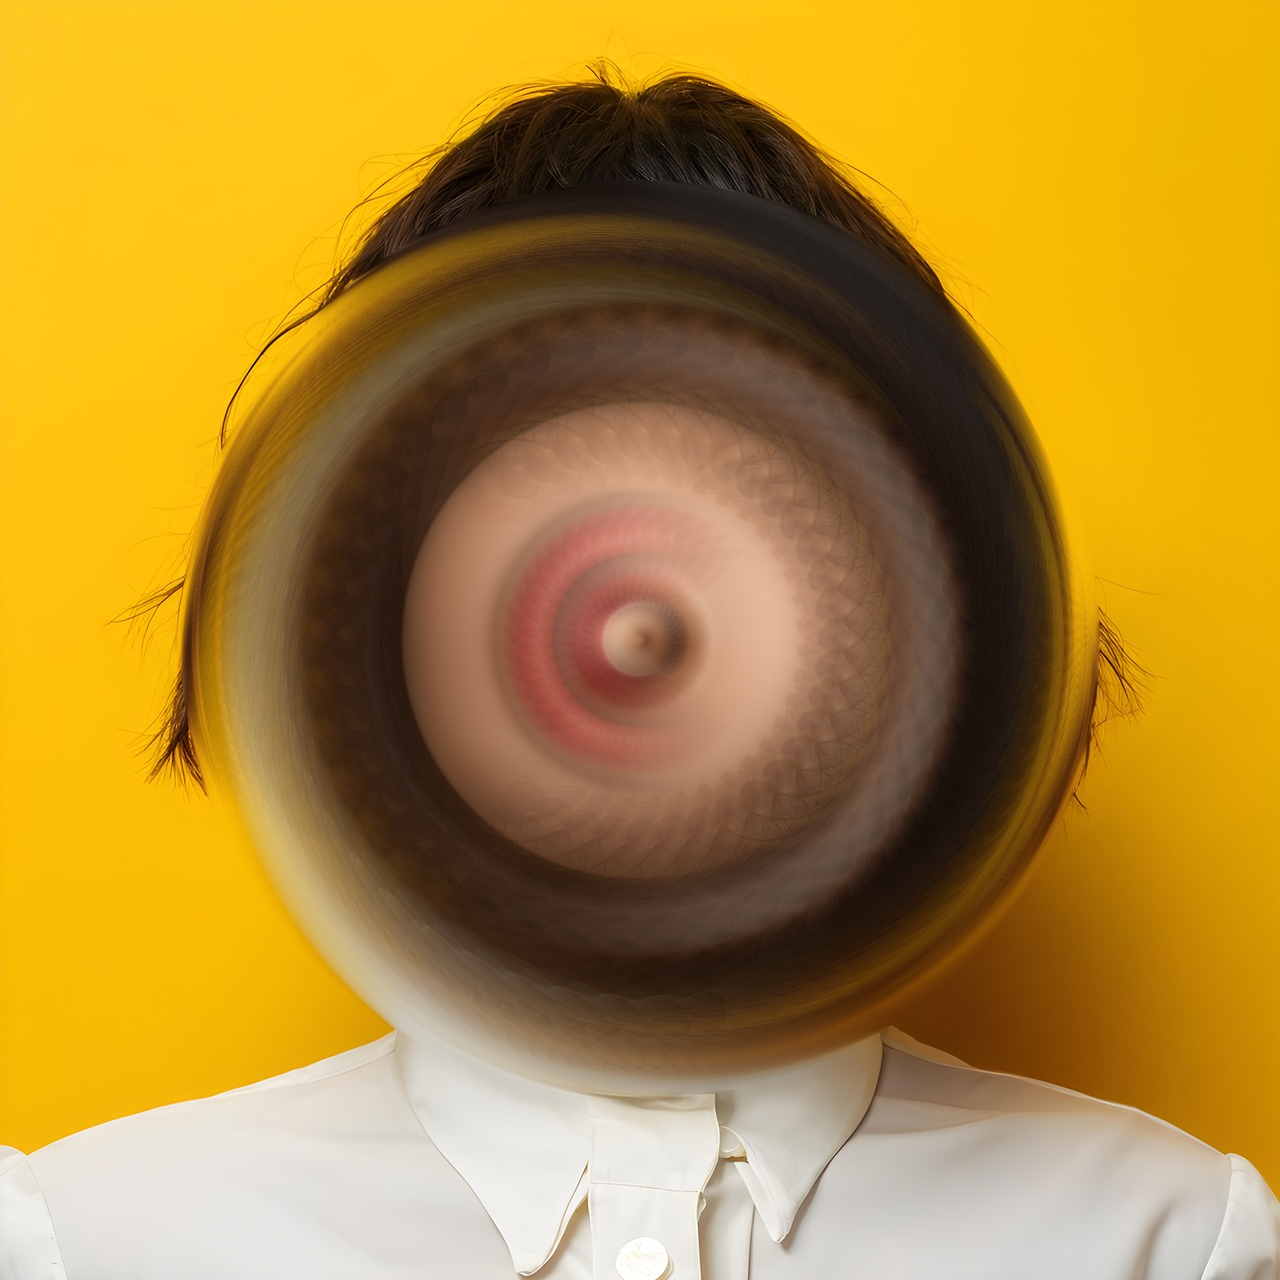
Radial Blur
Edit Filter
Angle
Center X
Center Y
Radius
Kernel Size
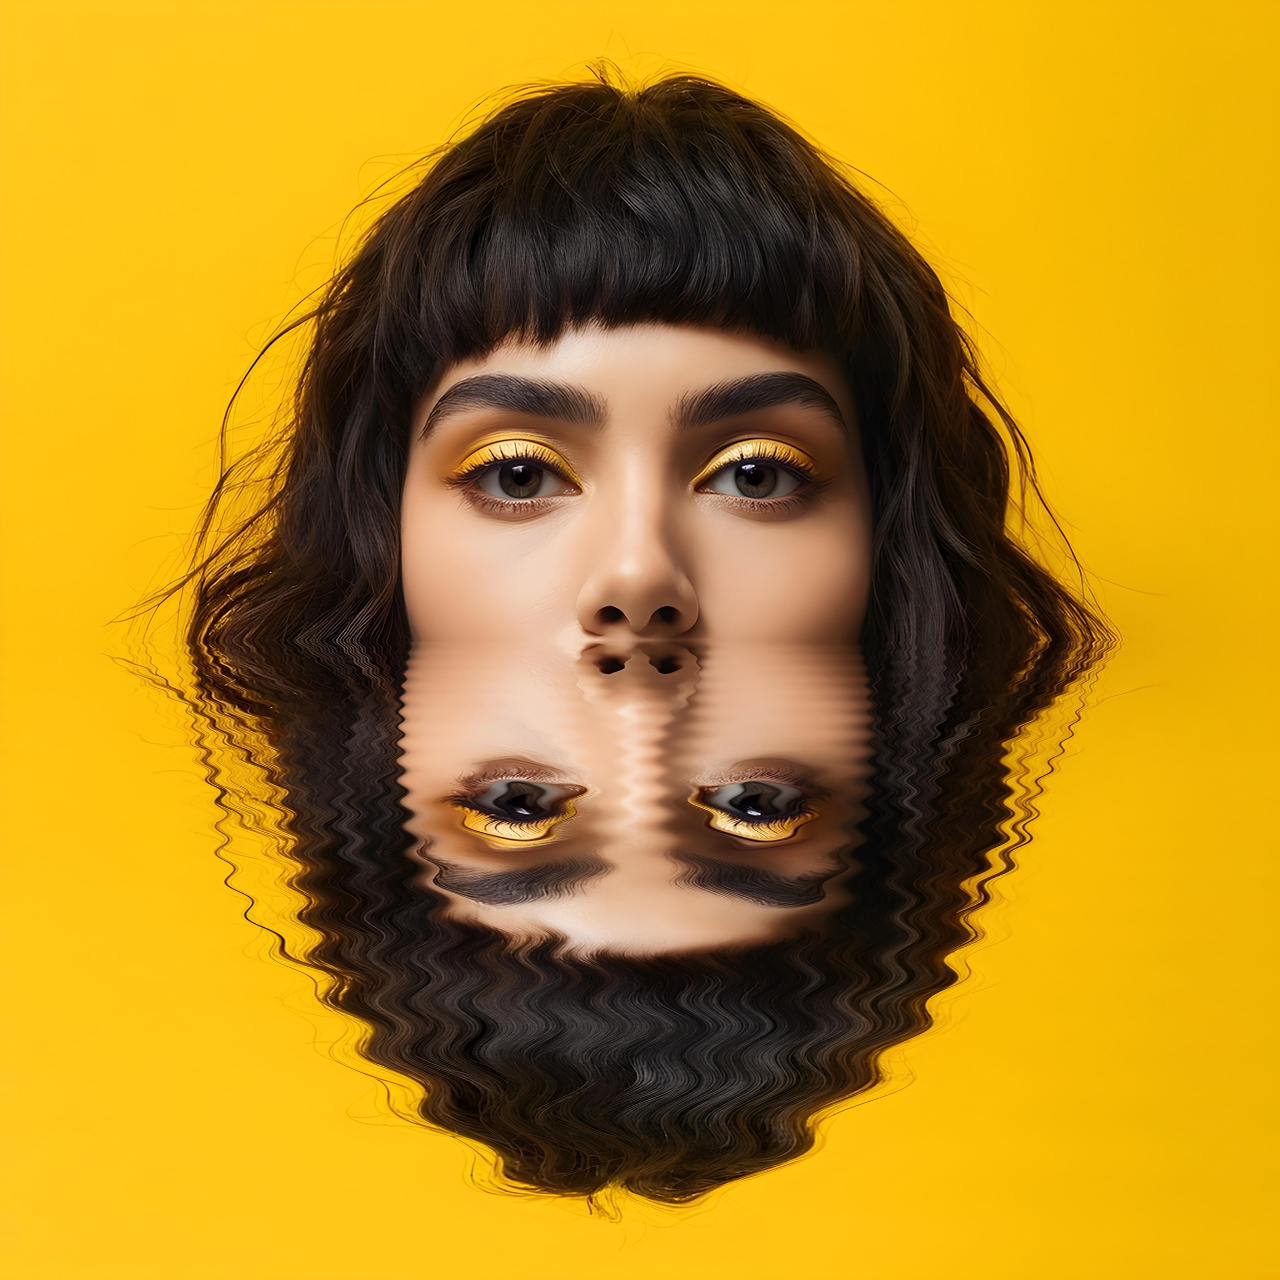
Reflection
Edit Filter
Mirror
Boundary
Amplitude Start
Amplitude End
Wavelength Start
Wavelength End
Alpha Start
Alpha End
Time

RGB Split
Edit Filter
Red X
Red Y
Green X
Green Y
Blue X
Blue Y
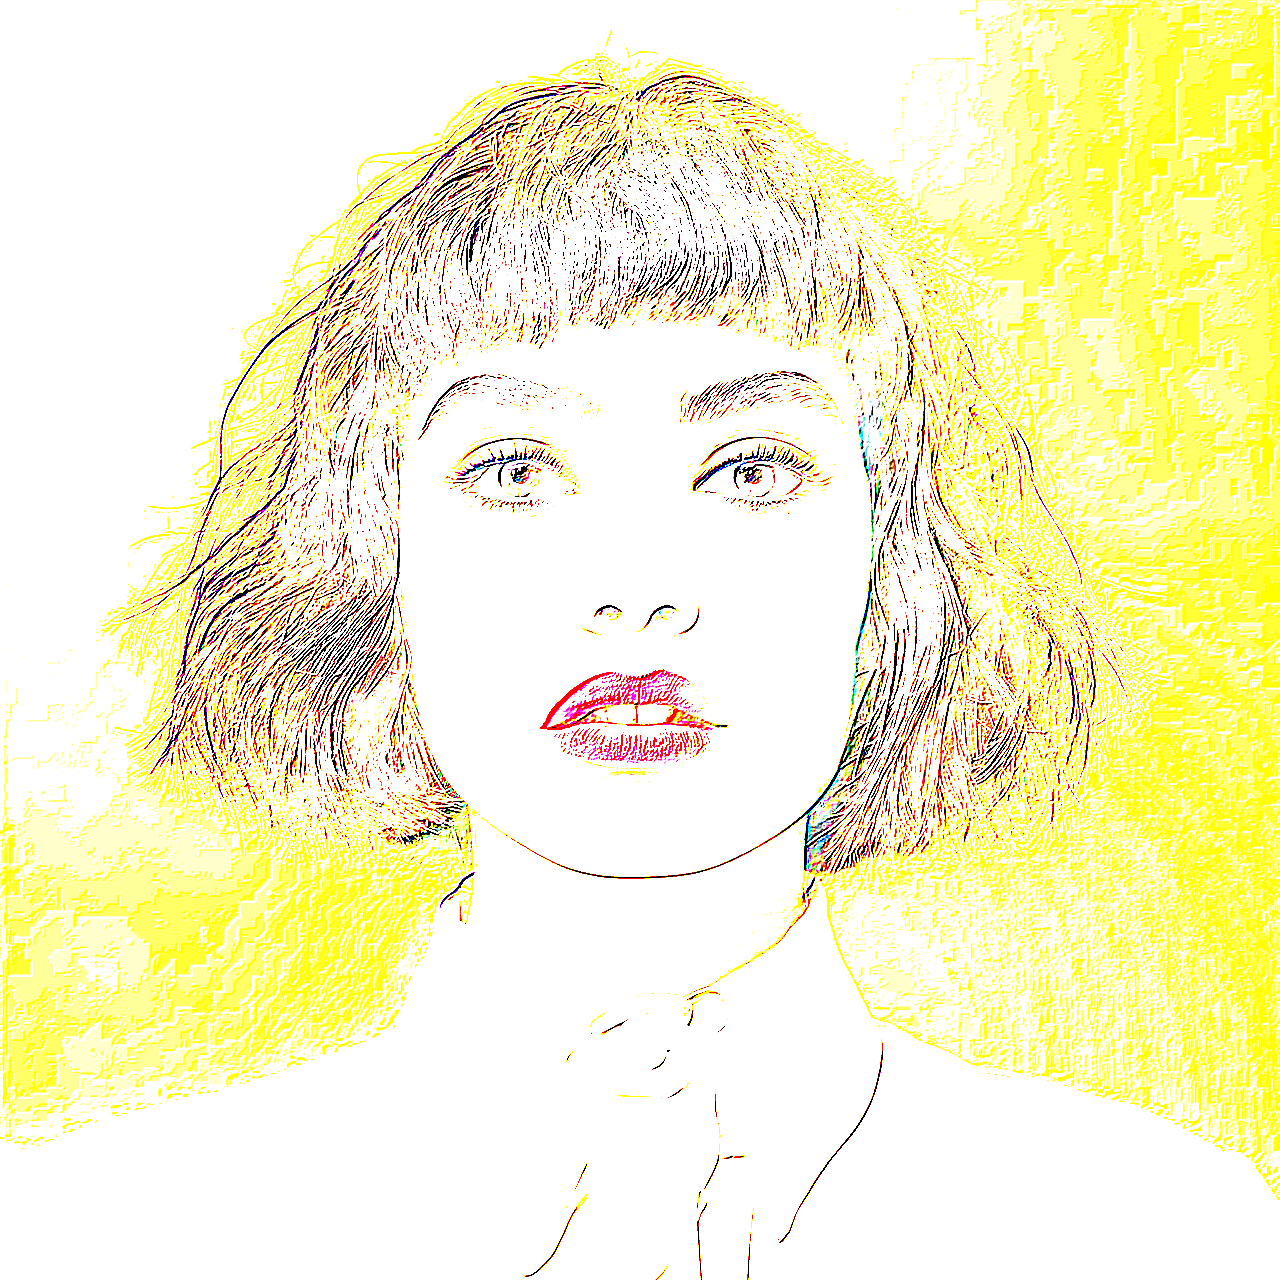
Lightmap
Edit Filter
Color
Alpha
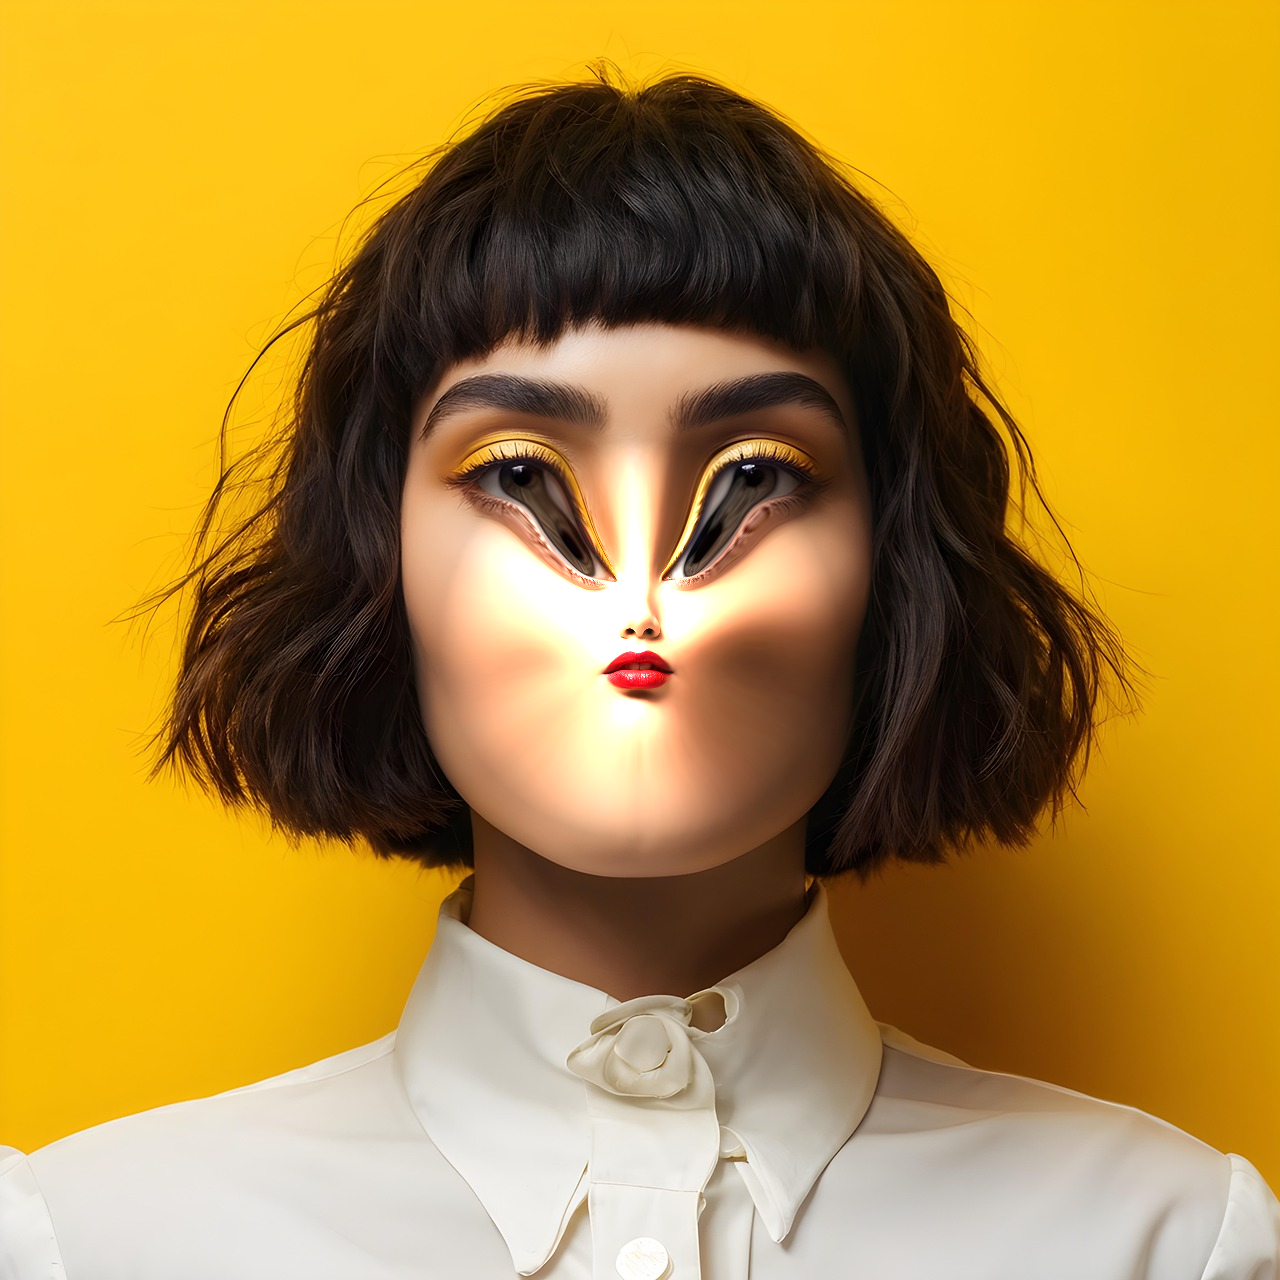
Shockwave
Edit Filter
Time
Amplitude
Wavelength
Brightness
Radius
Center X
Center Y
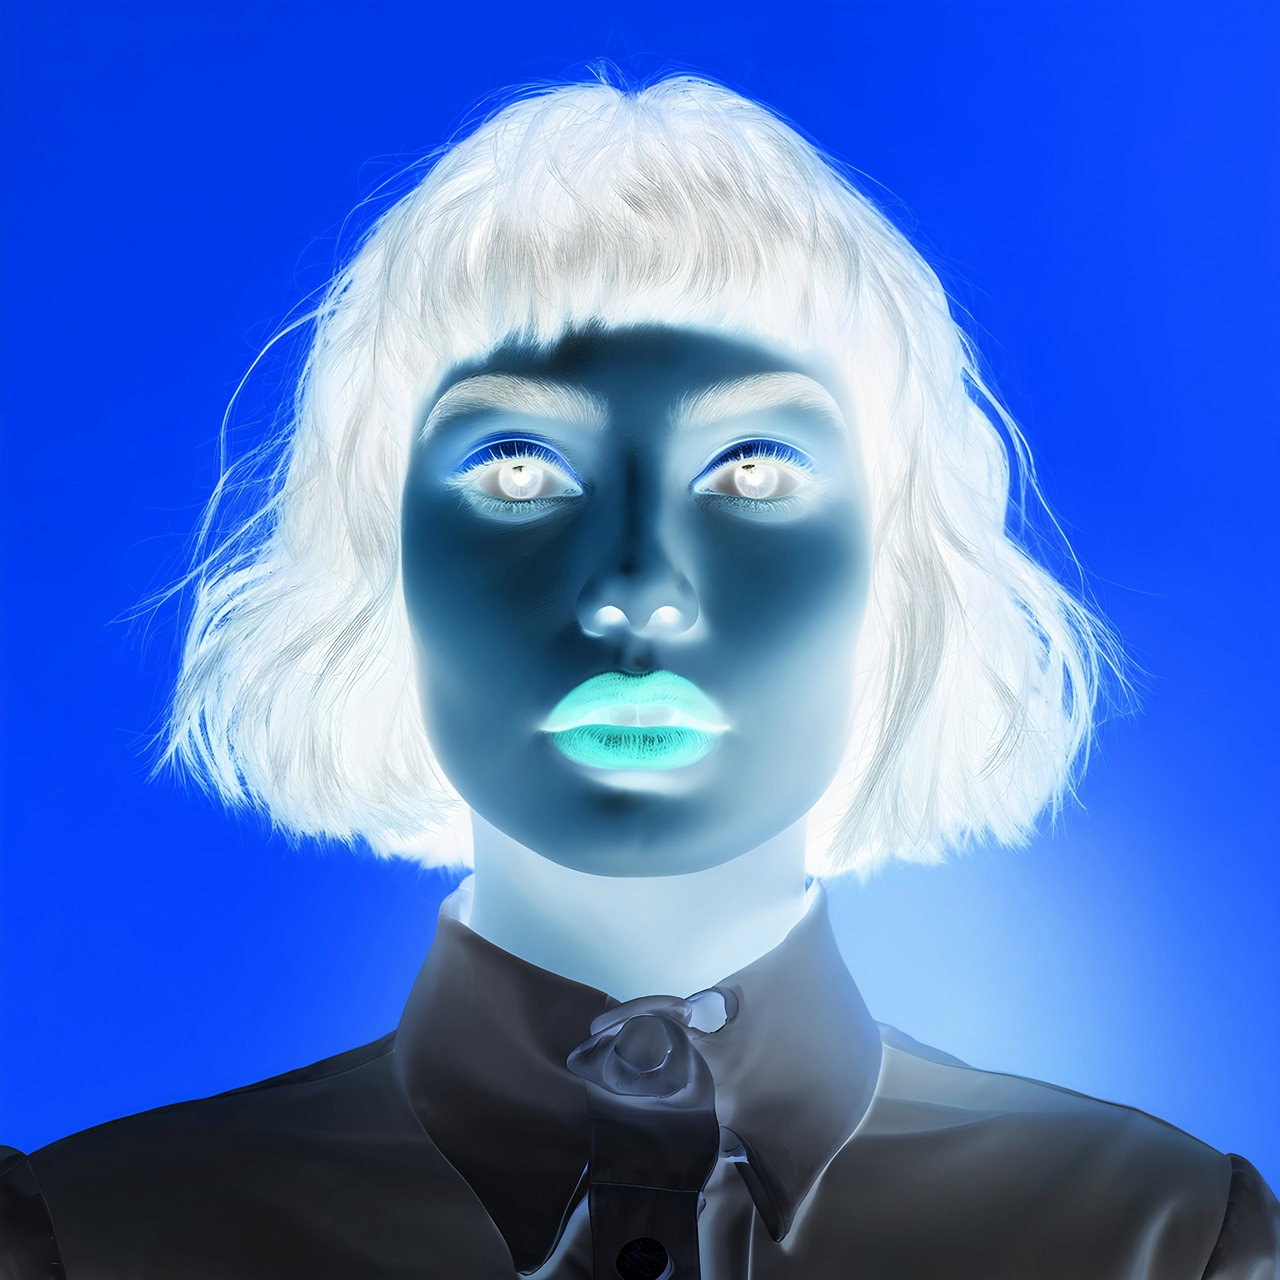
Negative

Tilt Shift
Edit Effect
Start X
Start Y
End X
End Y
Gradient Radius
Blur Radius
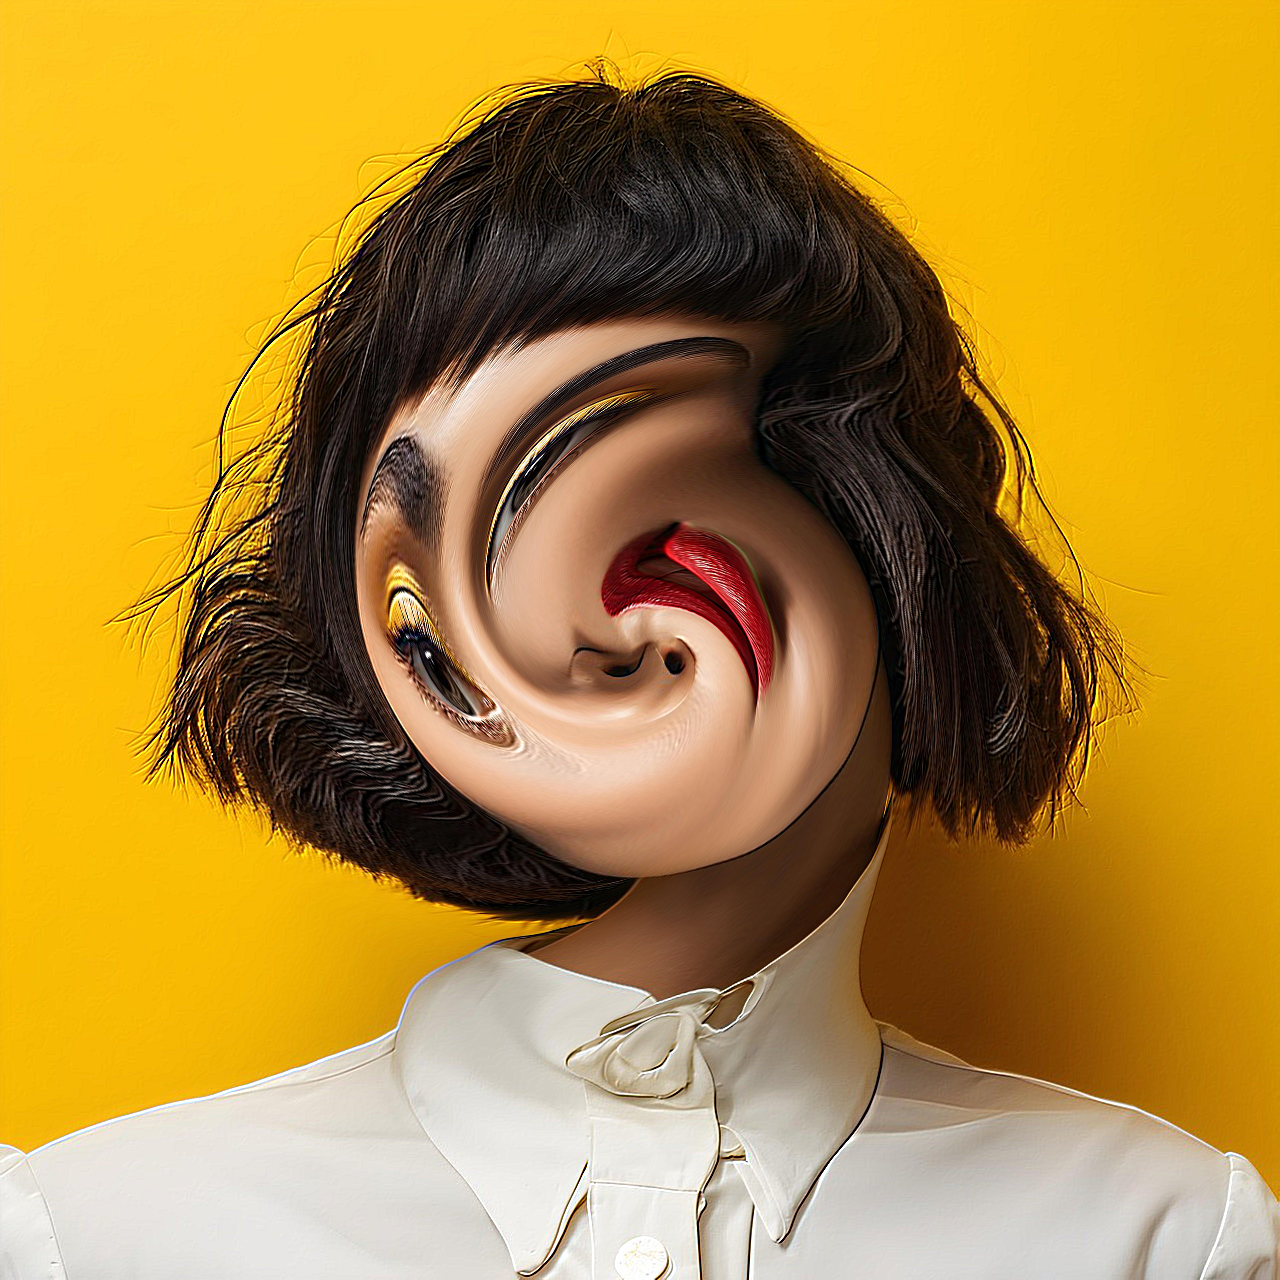
Twist
Edit Filter
Angle
Radius
Center-X
Center-Y
Effects

None

Photo Spread

Shaky
Edit Effect
Amount

Glitch
Edit Effect
Iterations
Seed
Amount
Quality

Implode
Edit Effect
Amount
Radius
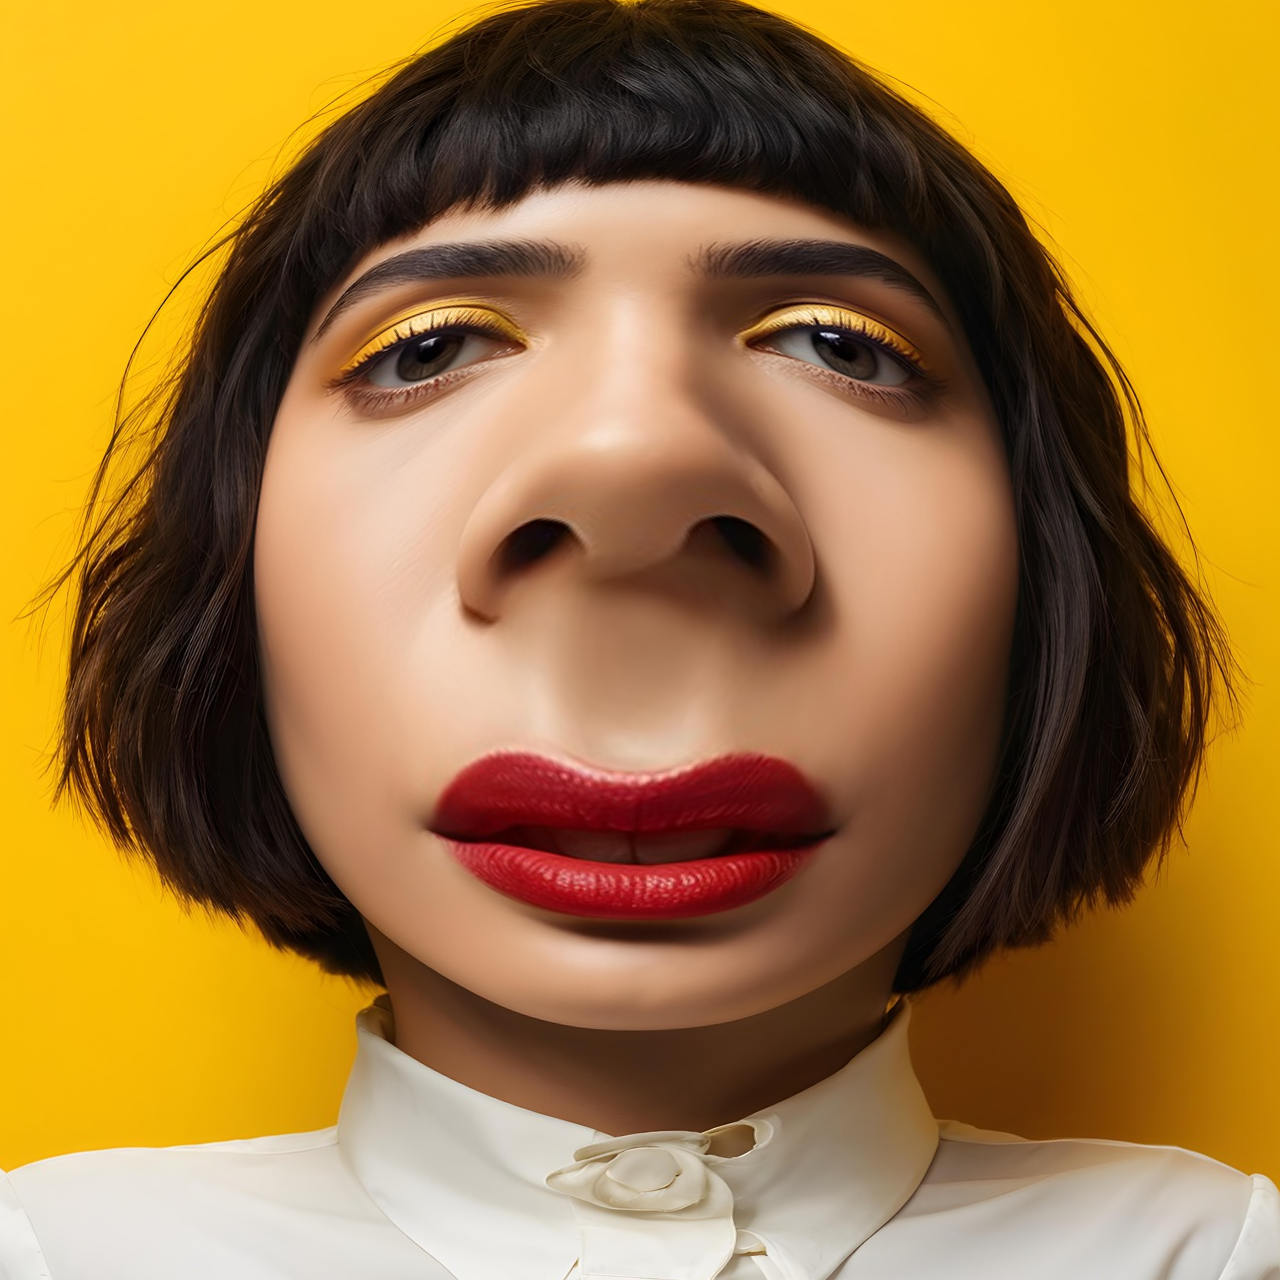
Explode
Edit Effect
Amount
Radius
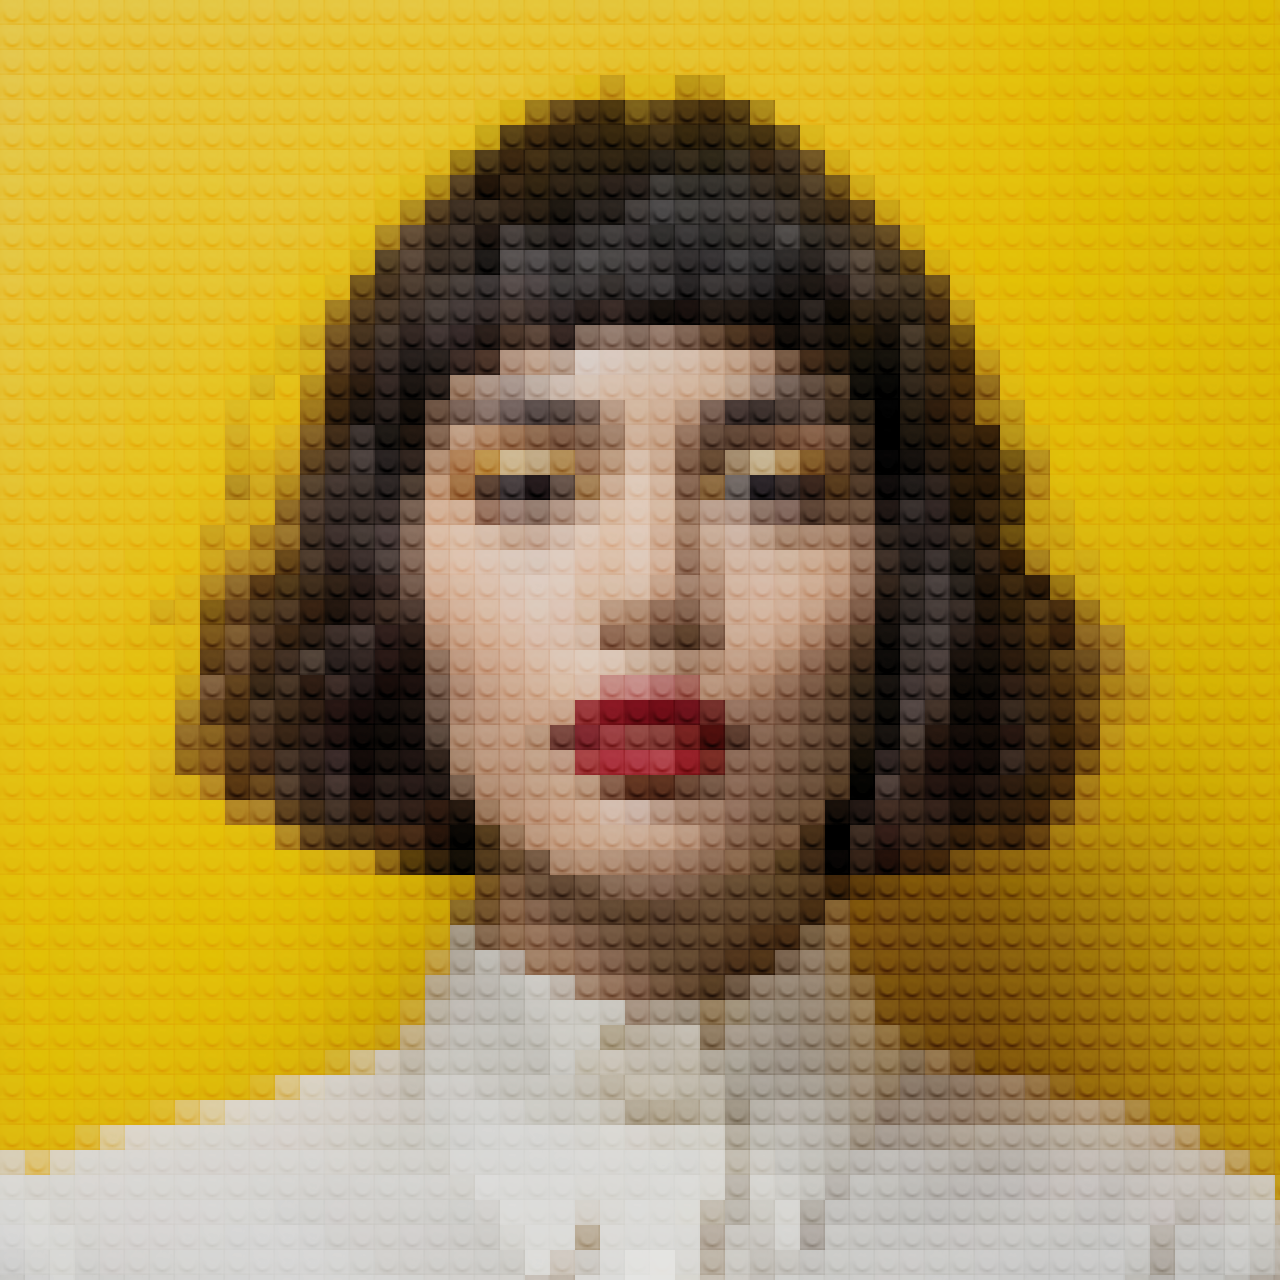
Lego

Mirror

Paint

Kaleidoscope
Edit Effect
Angle
Rotation
Sides
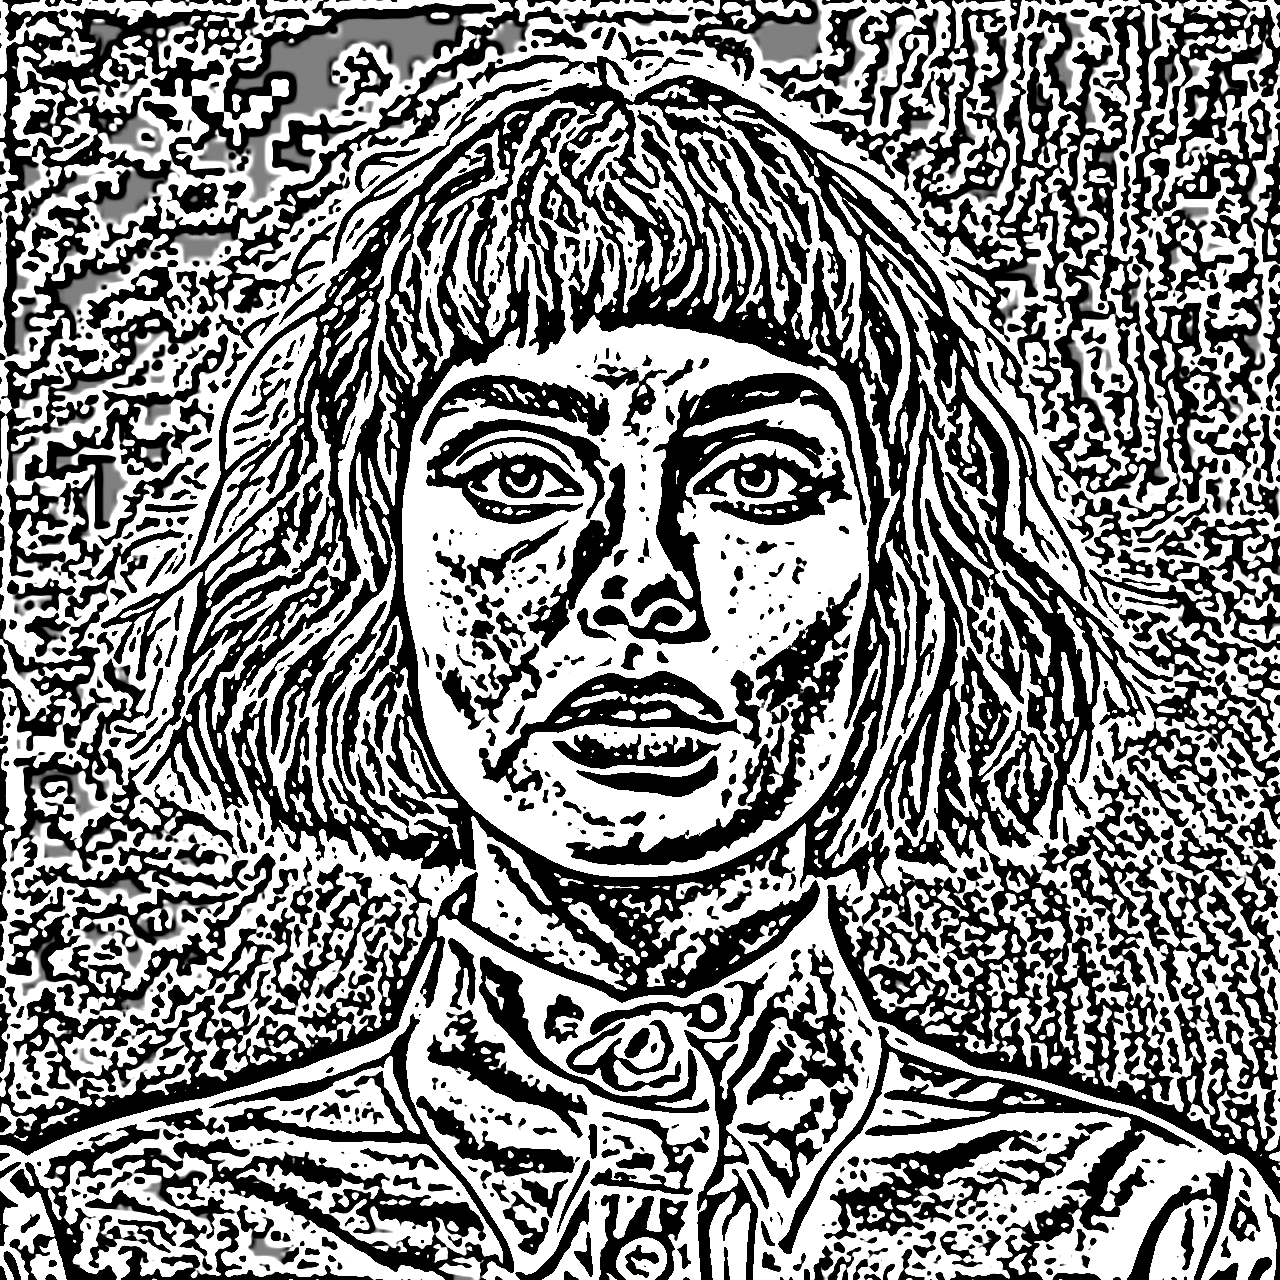
Edge Work
Edit Effect
Radius
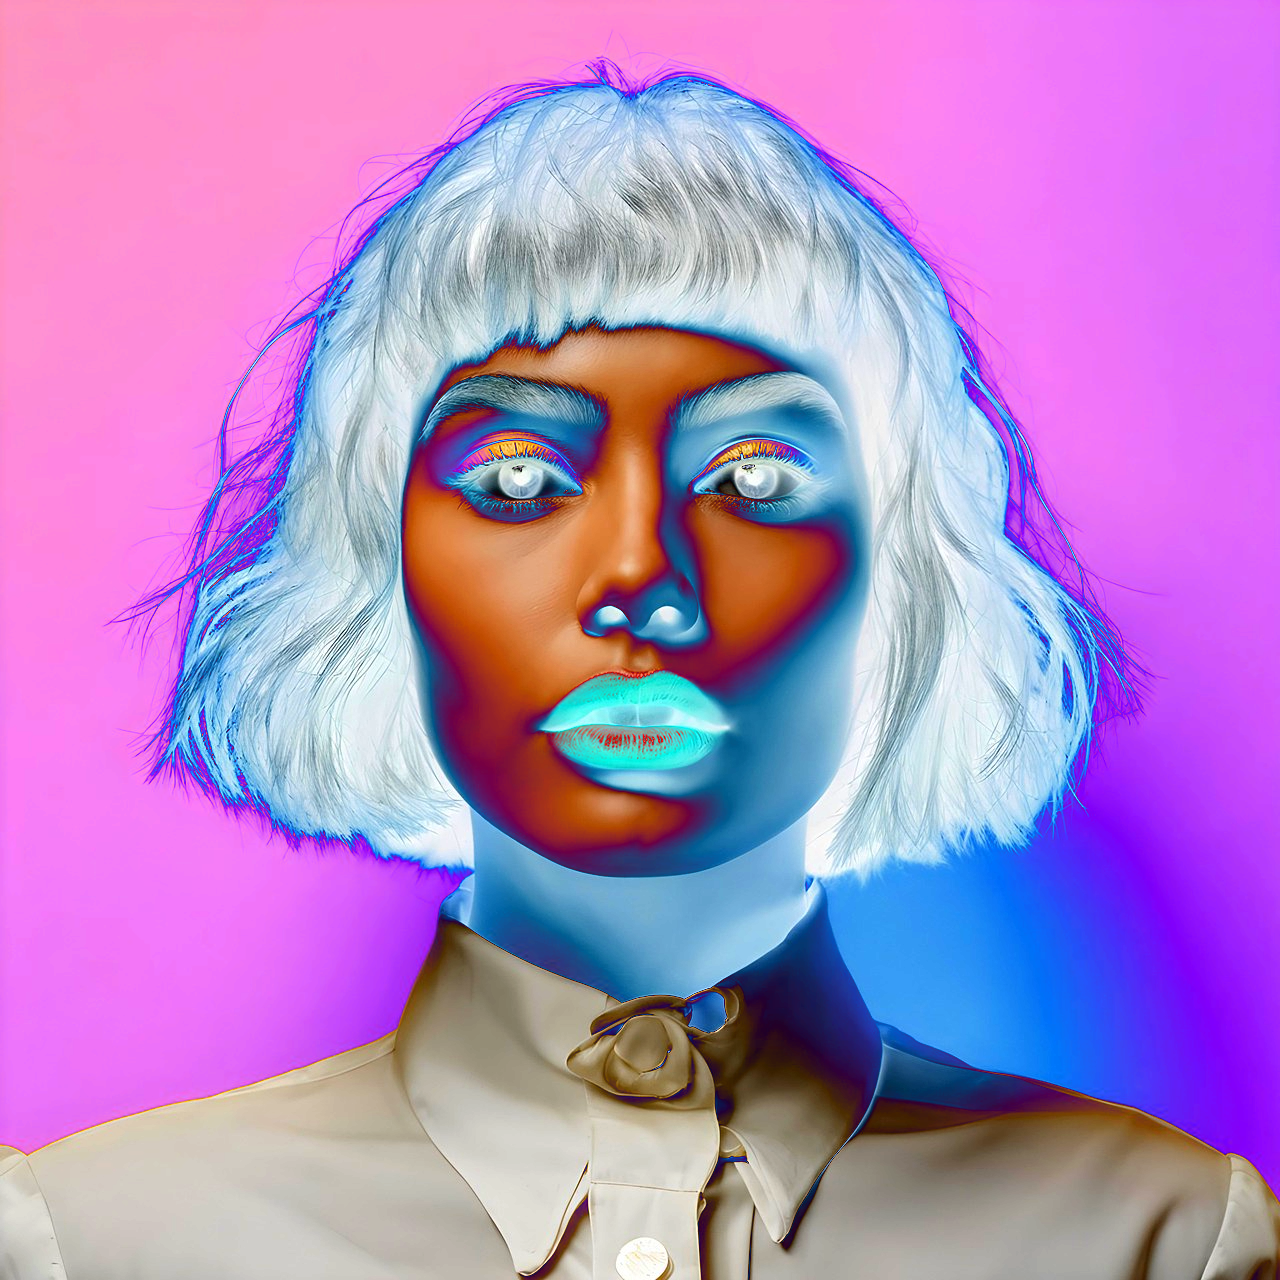
Solarize

Posterize
Edit Effect
Amount

Swirl
Edit Effect
Center-X
Center-Y
Radius
Angle
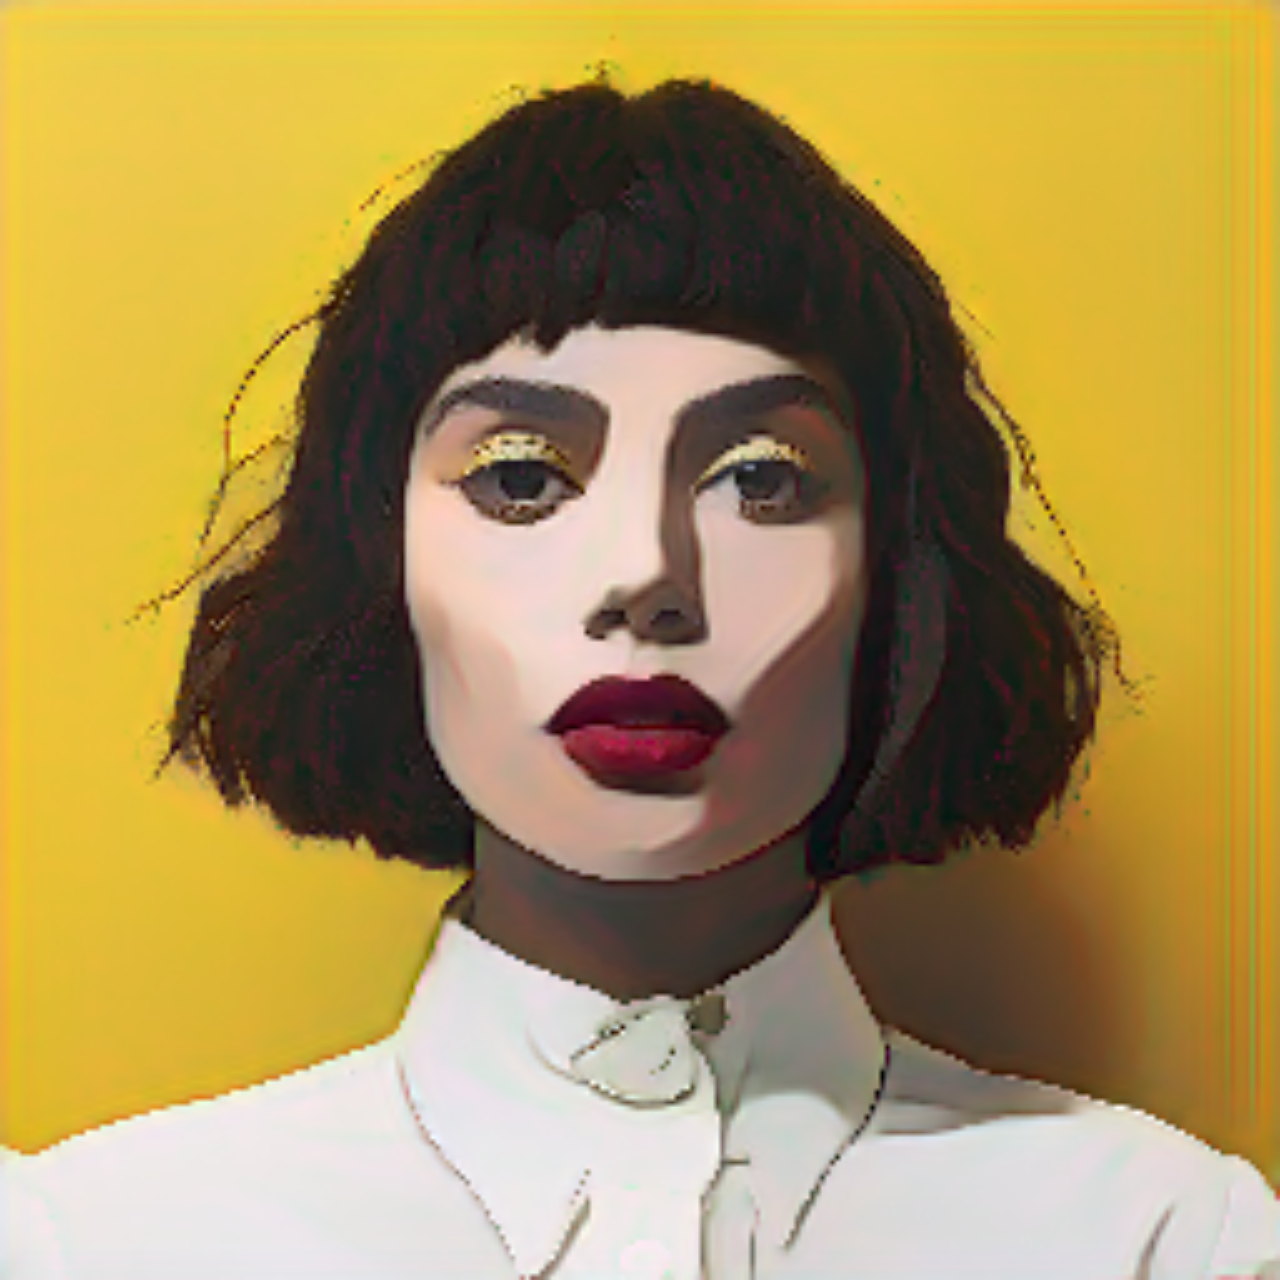
Cartoon

Zoom Blur
Edit Effect
Center-X
Center-Y
Radius

Triangle Blur
Edit Effect
Radius

Lens Blur
Edit Effect
Radius
Brightness
Hexagonal Pixelate
Edit Effect
Scale
Center X
Center Y

Noise
Edit Effect
Amount
Density
Monochrome

Color Halftone
Edit Effect
Angle
Center X
Center Y
Size

Dither
Edit Effect
Levels
Color

Sparkle
Edit Effect
Rays
Size
Amount
Randomness
Center X
Center Y
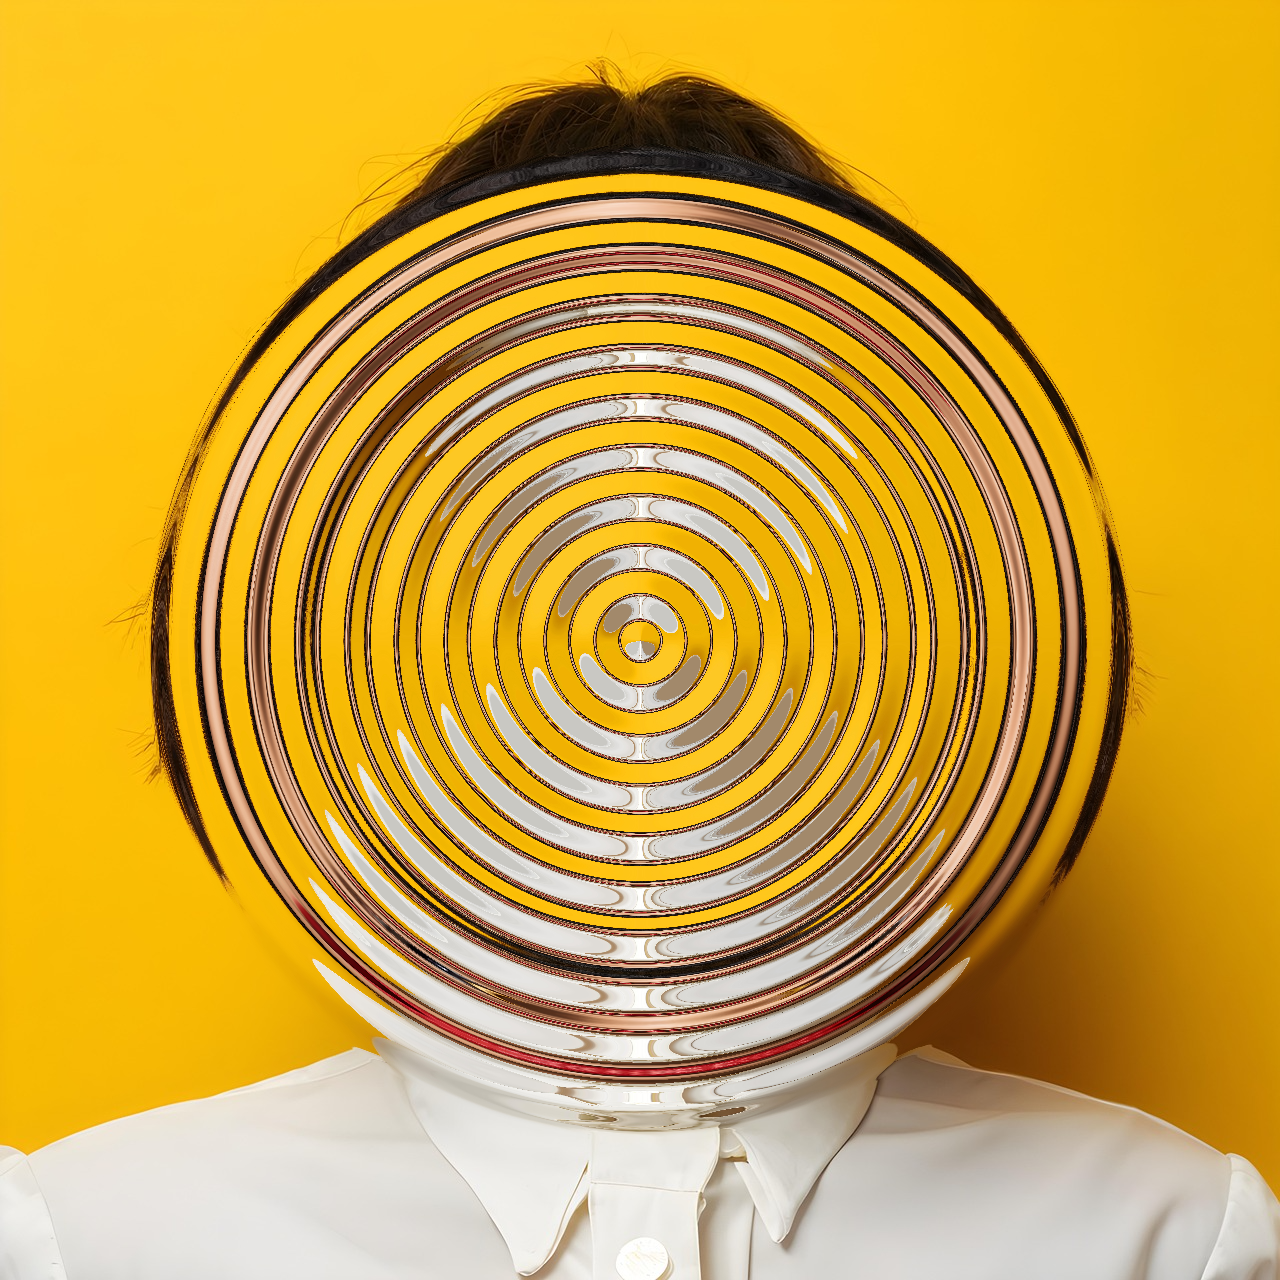
Waterripple
Edit Effect
Phase
Radius
Wavelength
Amplitude
Center X
Center Y

Pinch
Edit Effect
Center X
Center Y
Radius
Strength
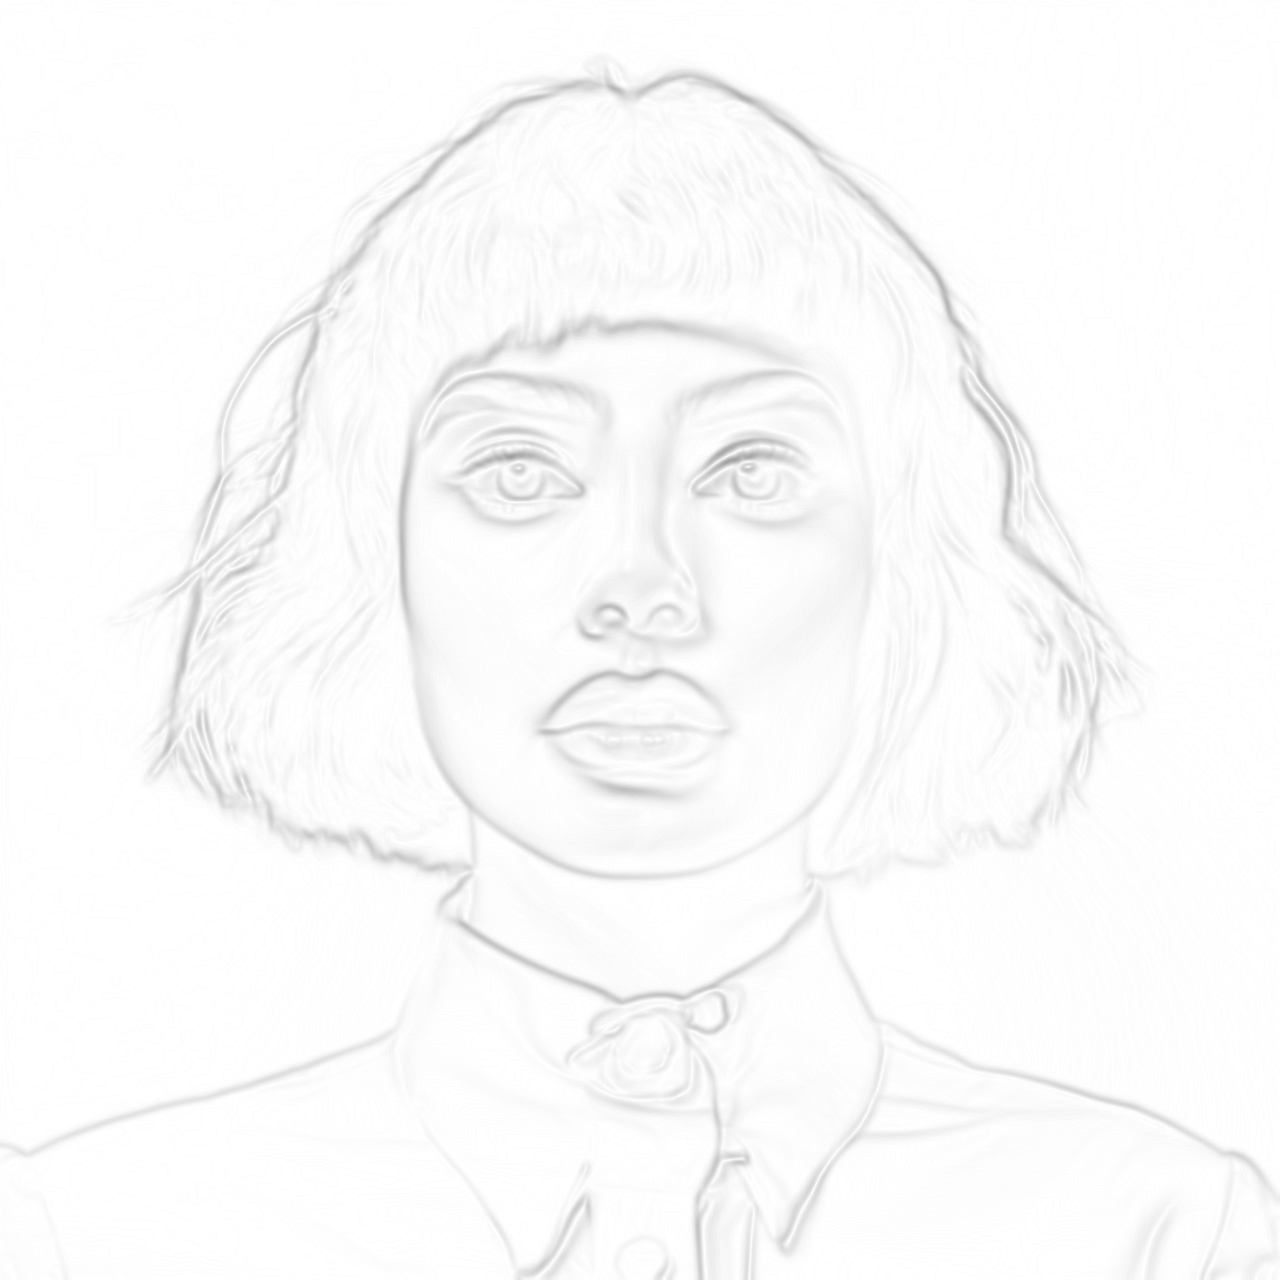
Abstract Outlines
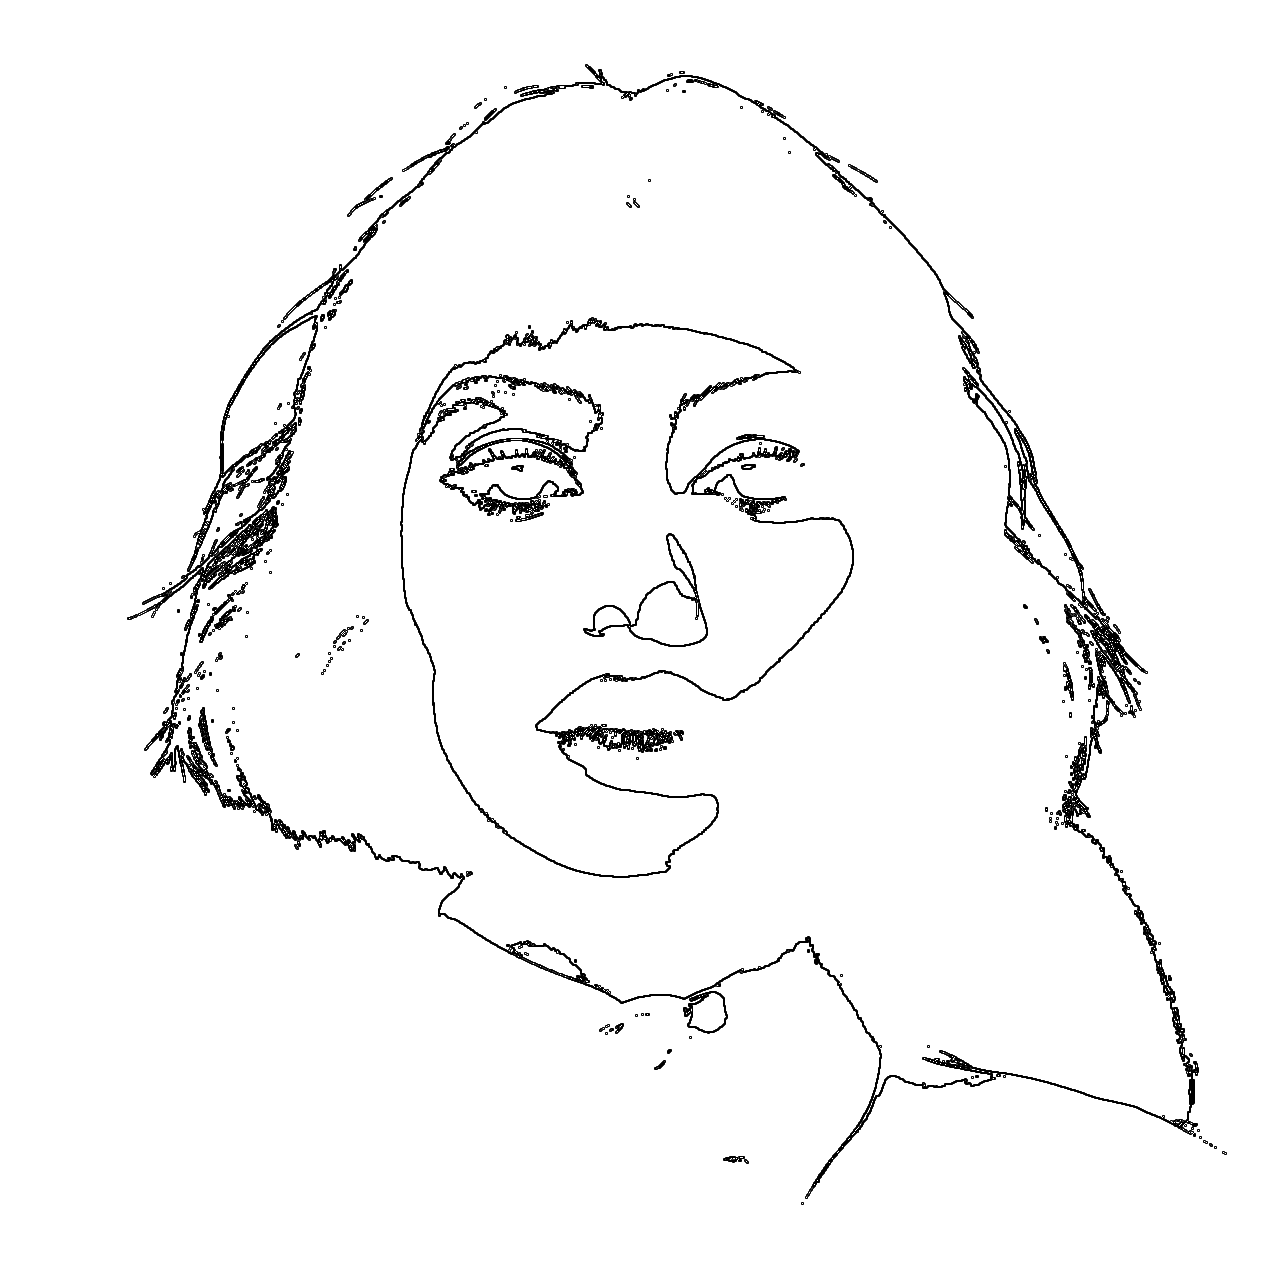
Coloring Book
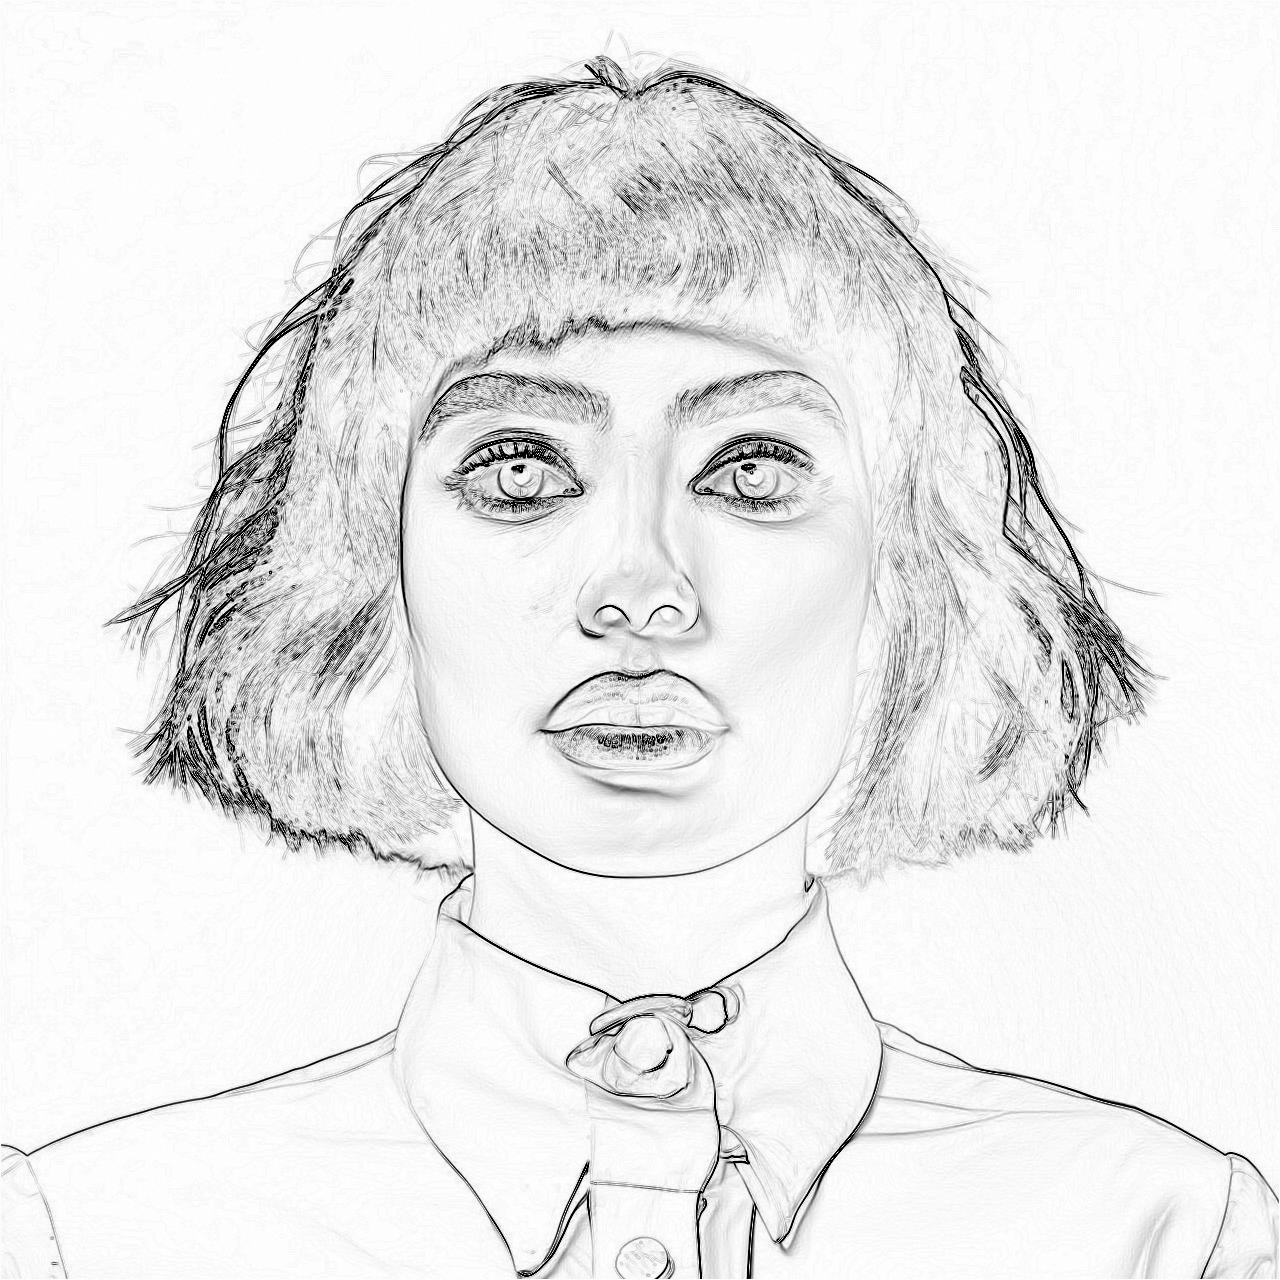
Pencil Sketch
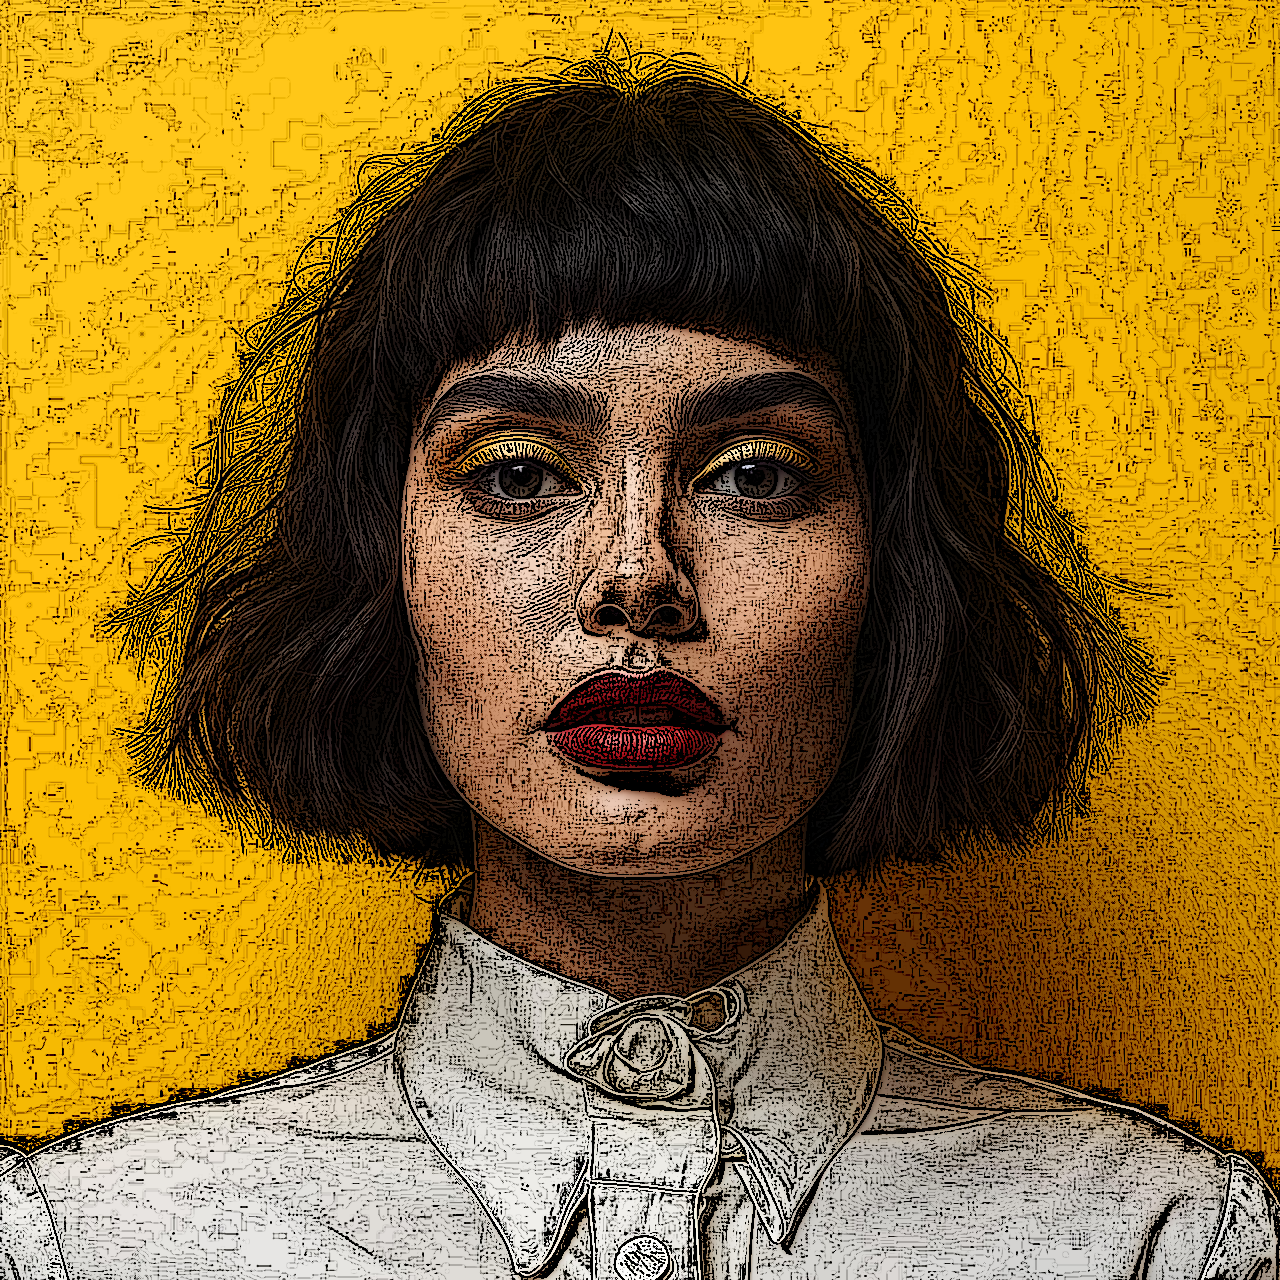
Ink
Edit Effect
Strength

Bump

unsharpMask
Edit Effect
Strength
Radius

Diffusion
Edit Effect
Strength

Tilt Shift
Edit Effect
Start X
Start Y
End X
End Y
Gradient Radius
Blur Radius

Denoise
Edit Effect
Exponent

Dot Screen
Edit Effect
Angle
Center X
Center Y
Size
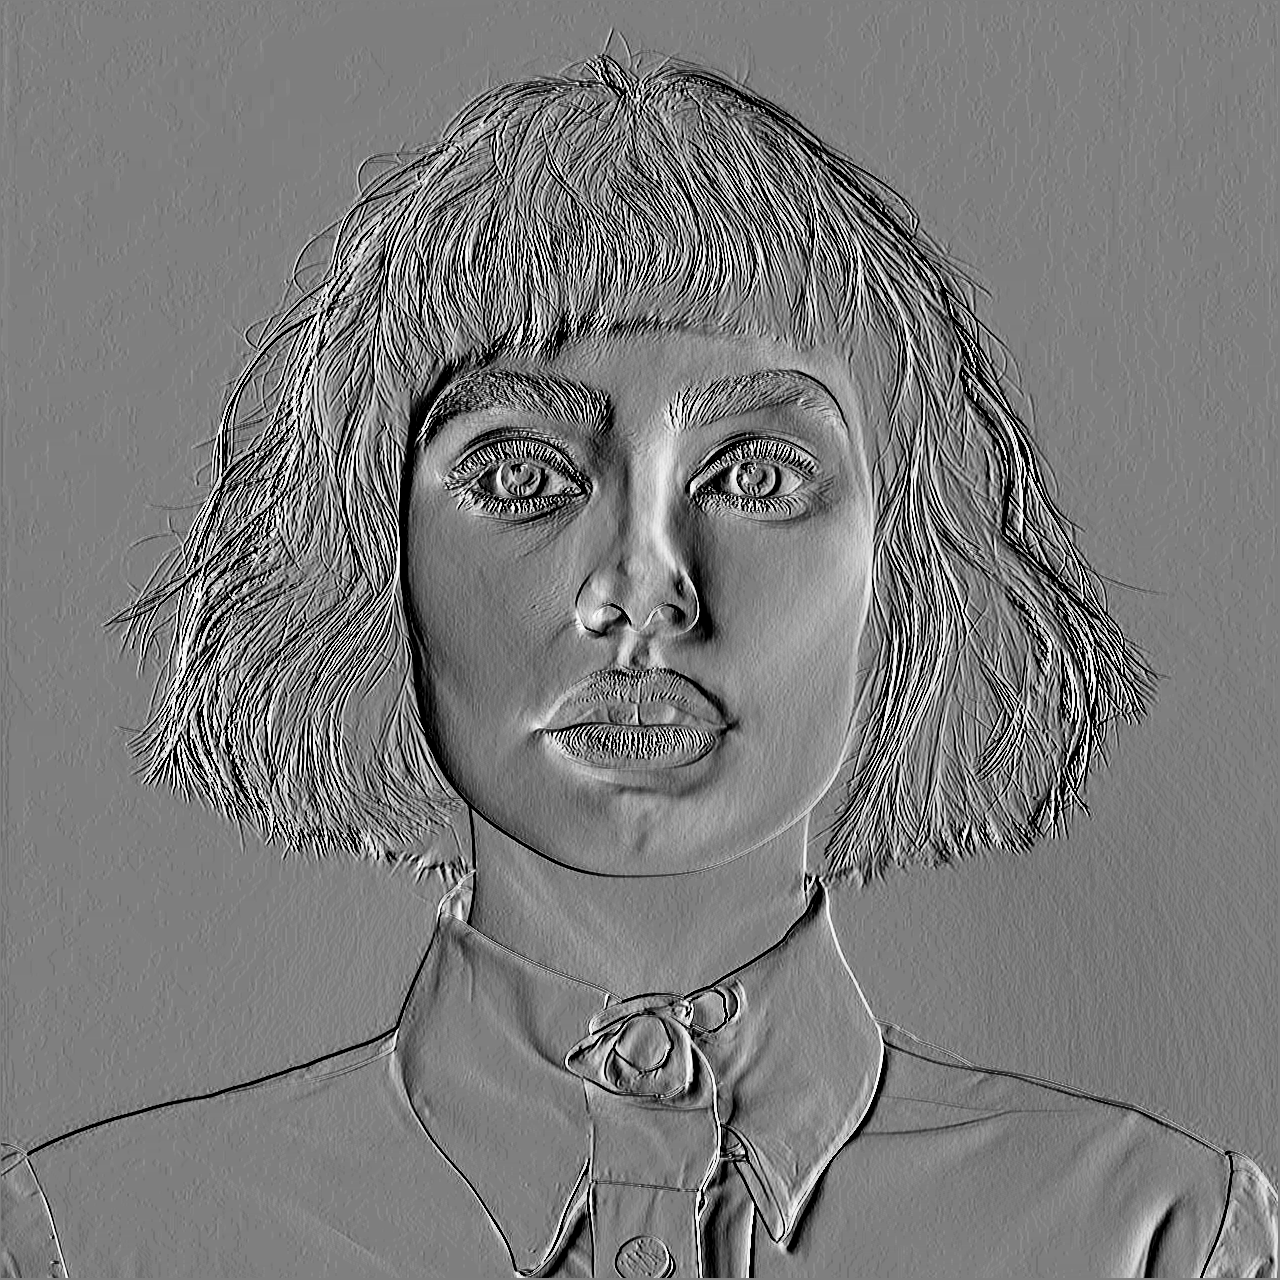
Emboss
Edit Effect
Height
Angle
Elevation

Needle Point

Sin City

Pinehole

Vignette
Edit Effect
Size
Amount
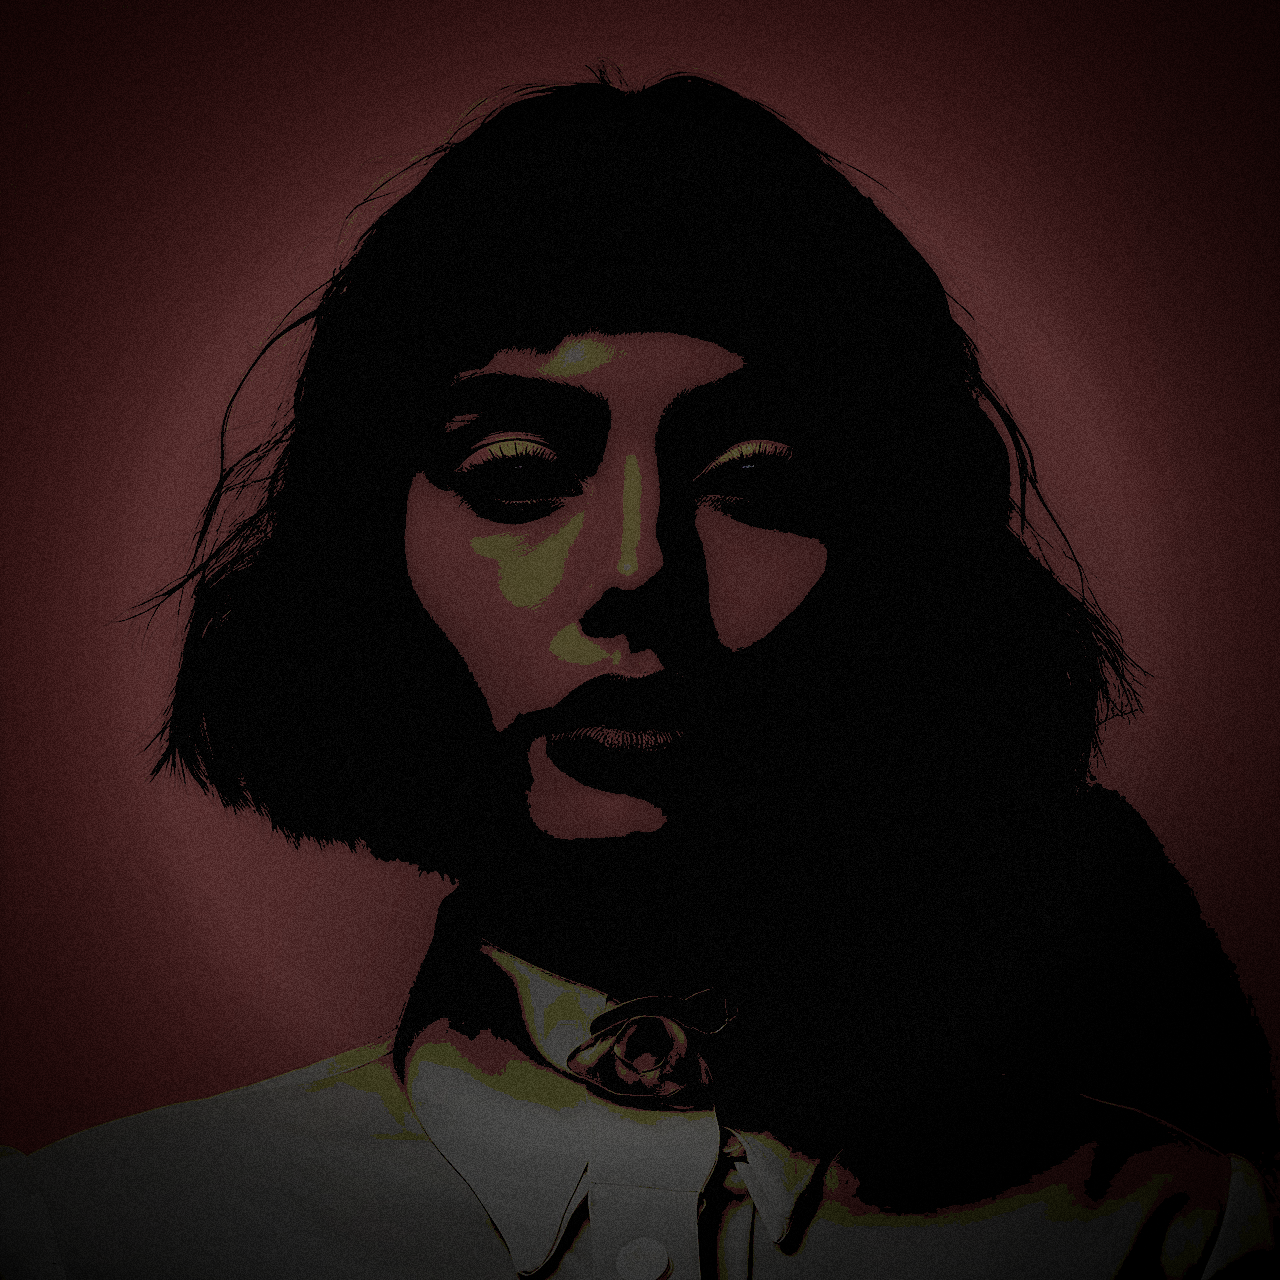
Grungy

Exposure

Vibrance

Heming way

Concentrate
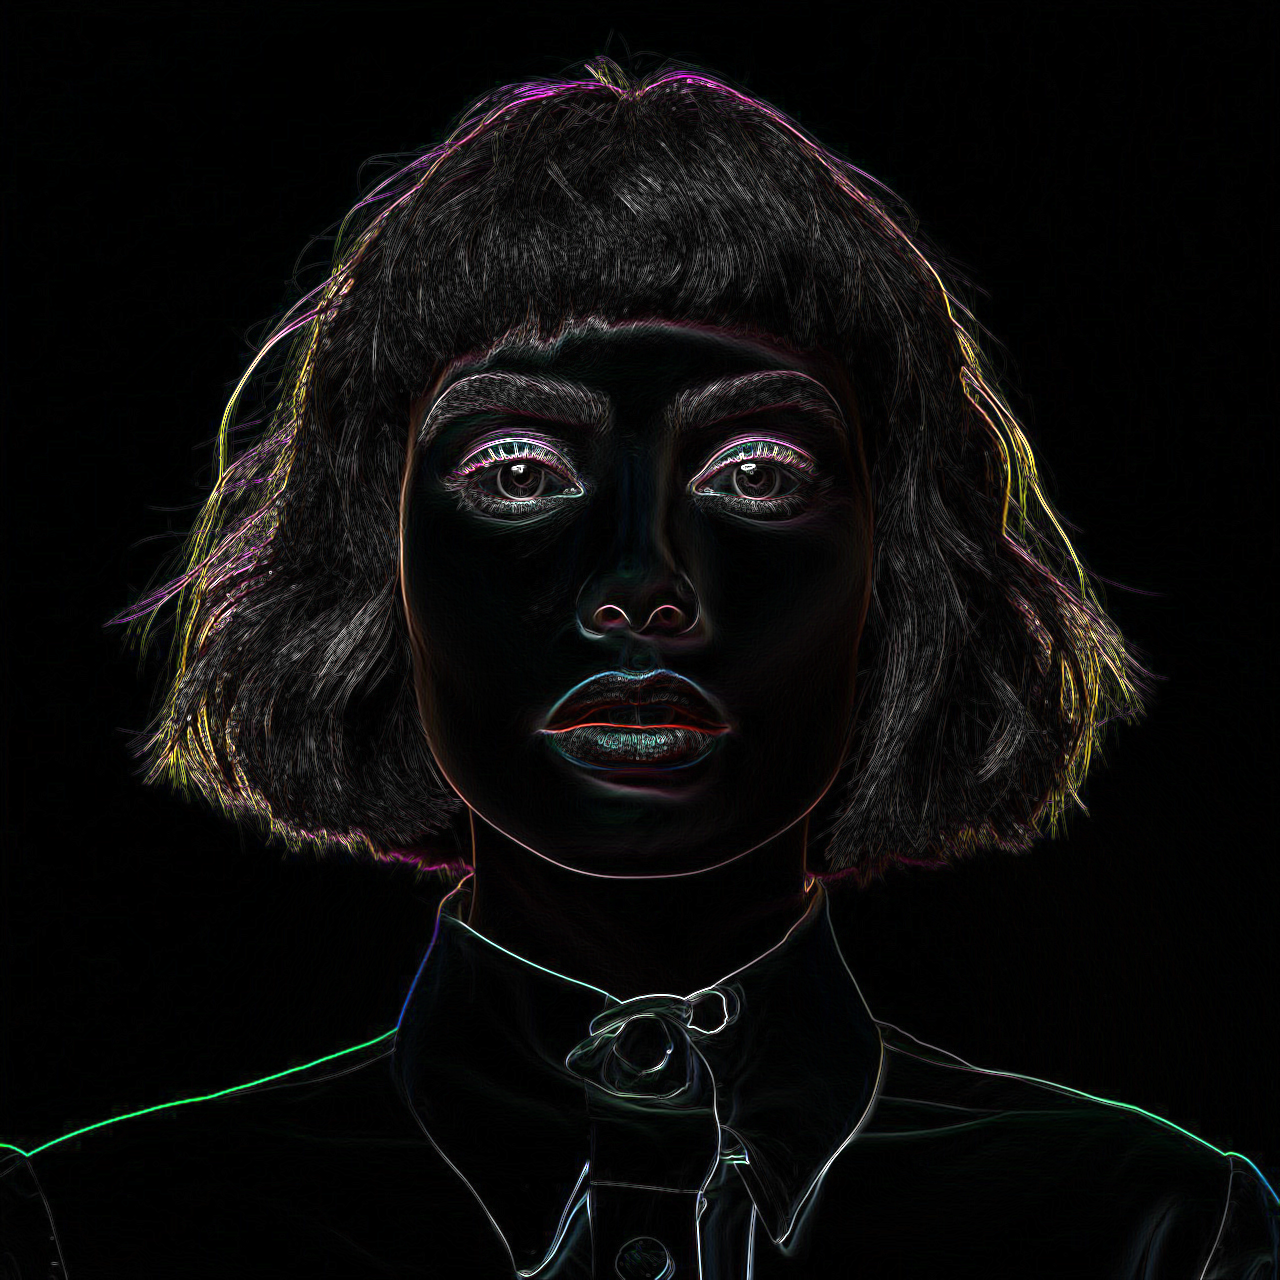
Edge
50%


