Introduction
The photographs you use for your business are crucial for gaining client trust and increasing sales. According to one study, 91% of customers prefer visual material to static, text-based data. That’s why it’s critical to use stunning, high-resolution photographs that are the correct size for your website and social media pages.
Don’t panic if you don’t have any prior graphic design expertise. There are many free image resizing programs available online. Bad image use can ruin your sales, while great picture use can increase traffic and money. Perhaps, the tools we’ll discuss will assist you in creating appropriate photographs for your digital businesses.

Resizing might be an unpleasant process if you’re new to digital picture editing. Many various applications make inflated claims about their ease of use, quality, and outcomes, among other things. You needn’t be concerned because you’ve arrived at the appropriate location. This post will not only teach you how to resize a picture without sacrificing quality using a variety of tools that we’ve hand-picked for you, but it will also address some other frequently asked issues concerning the procedure.
What are some of the most prevalent causes and benefits of resizing images?
Knowing how to appropriately modify digital photos is a crucial skill for making your brand stand out from the crowd. Resizing photographs without losing their authenticity is another wonderful approach to generate a positive first impression on users, who are typically drawn to pictures above everything else.
Poorly scaled photographs are easily identifiable by the user, typically appearing as hazy distortions of the original. Sloppy resizing might turn off potential customers, reduce your impact, and even cause you to lose visitors. Page performance is another crucial factor to consider when resizing photos effectively.

The resolution of photos and images taken directly from a camera is extremely good. This means there are a lot of pixels, each of which takes a long time to load on your browser. To ensure a seamless viewing experience, reduce the resolution of your images before posting them to your site. In this regard, page speed and image quality are both equally vital things to consider while building your website. Resizing image pixels is thankfully not difficult.
It’s simple to figure out how to resize photographs without sacrificing quality, and this article will show you how.
How does image resize work?
Because not all of our photographs are the correct size we require, it’s critical to learn how to adjust an image correctly and how resizing works. The pixel data in an image is modified when it is scaled. When an image is made smaller, the photo editor will remove any unnecessary pixel information. When a photo is increased in size, the editor must advance and add new pixel data based on its best approximations to achieve the anticipated size, which generally ends in a pixelated or soft and blurry picture.
This is why downsizing an image is significantly simpler than upsizing the same. Because of the difficulty of expanding, if an image is needed for high-quality (publication) or large size (poster) printing, make sure it is captured with the best resolution and quality feasible.
Each pixel is stored as a triplet of numbers representing Red, Green, and Blue light. Consider it a recipe for blending the colour, similar to how you would combine coloured paint to create a new hue (except with light). When resizing, all you have to do is keep the colour proportion… You can either duplicate or interpolate/resample when scaling up.
When shrinking, many pixels are combined into a single pixel and the average value is calculated.
How to resize an image?
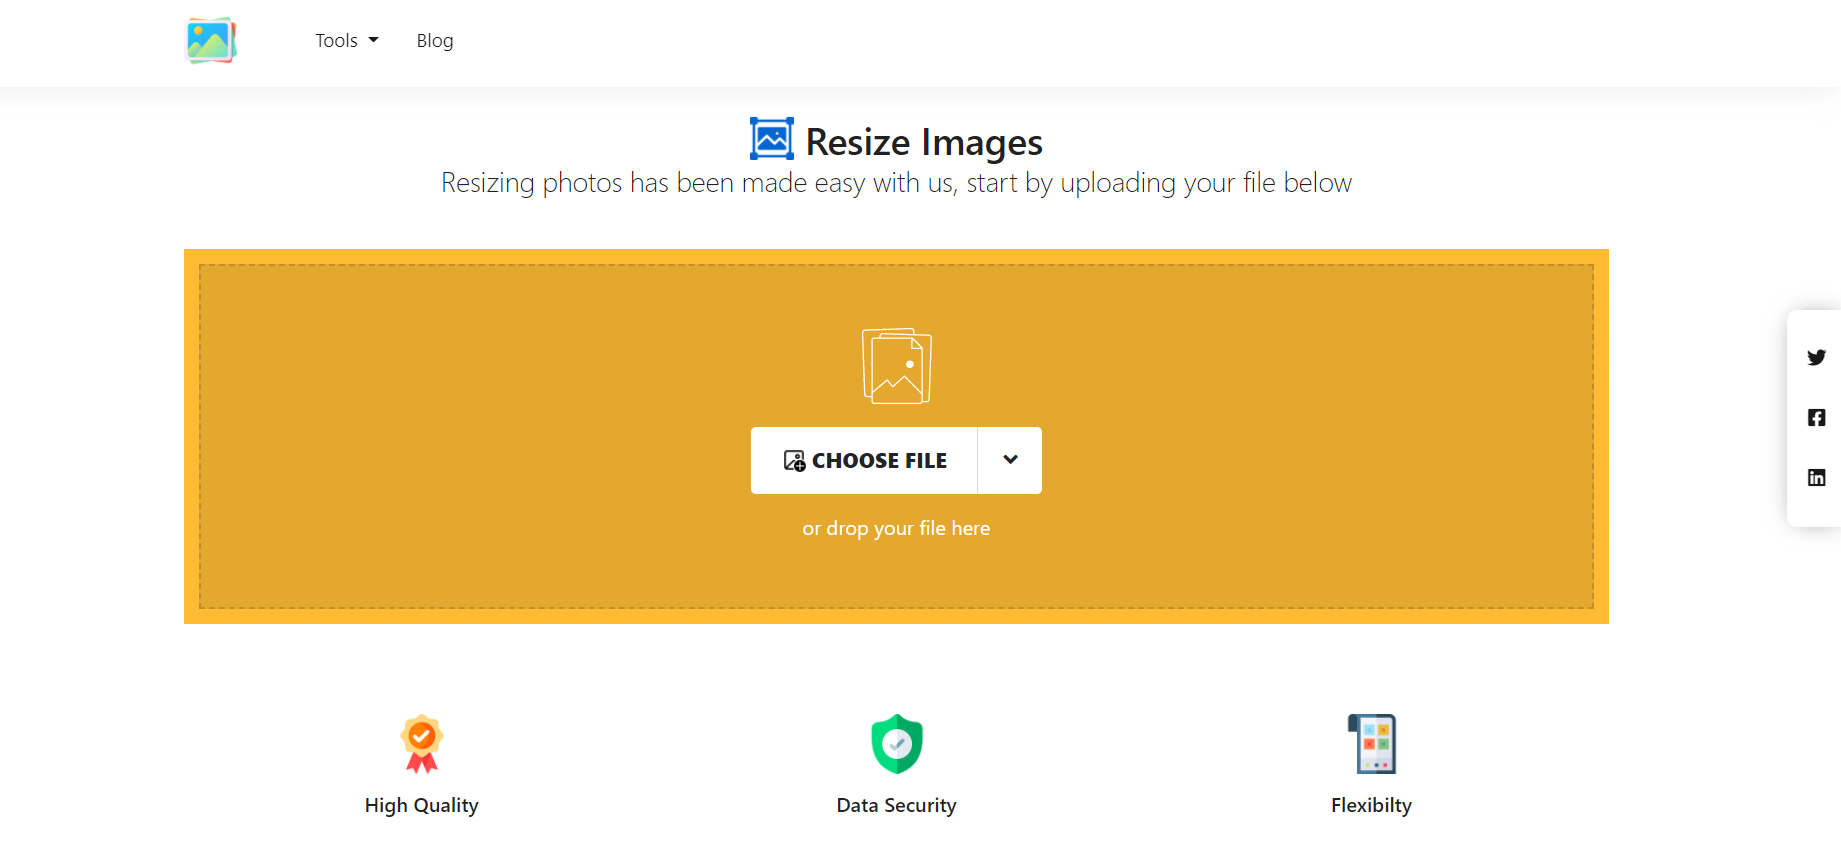
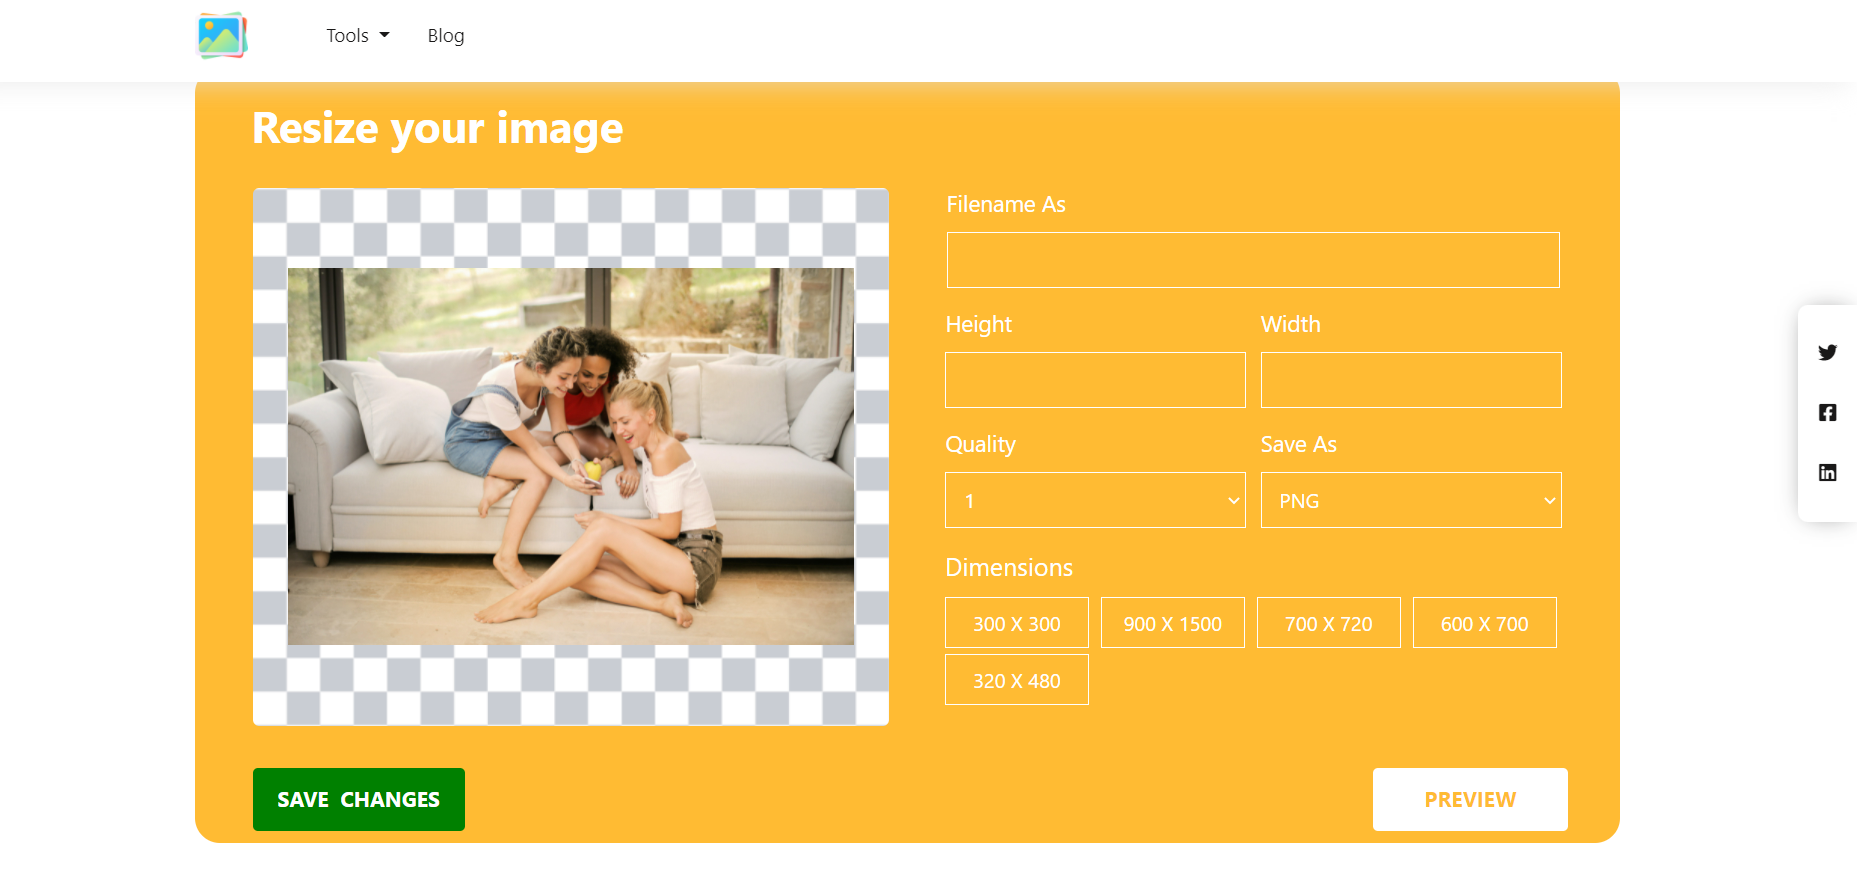
You can use our free online Image Resizer tool to resize your images in just a few simple steps. Safeimagekit.com’s resize image tool gives you a lot of options when it comes to resizing an image you’ve uploaded for modification. Adjusting the size of an image with relation to the width is one of the key features. - Reducing the size of an image in proportion to its height. - Complete scaling and downloading of the image.
When resizing an image file, the user can follow the following six steps:
- Upload the picture file that has to be changed.

- Change the image’s height by inputting a value.

- Change the image’s width by inputting a value.
- To initiate the resizing, press the resize button.
- To save your changes, use the save button.

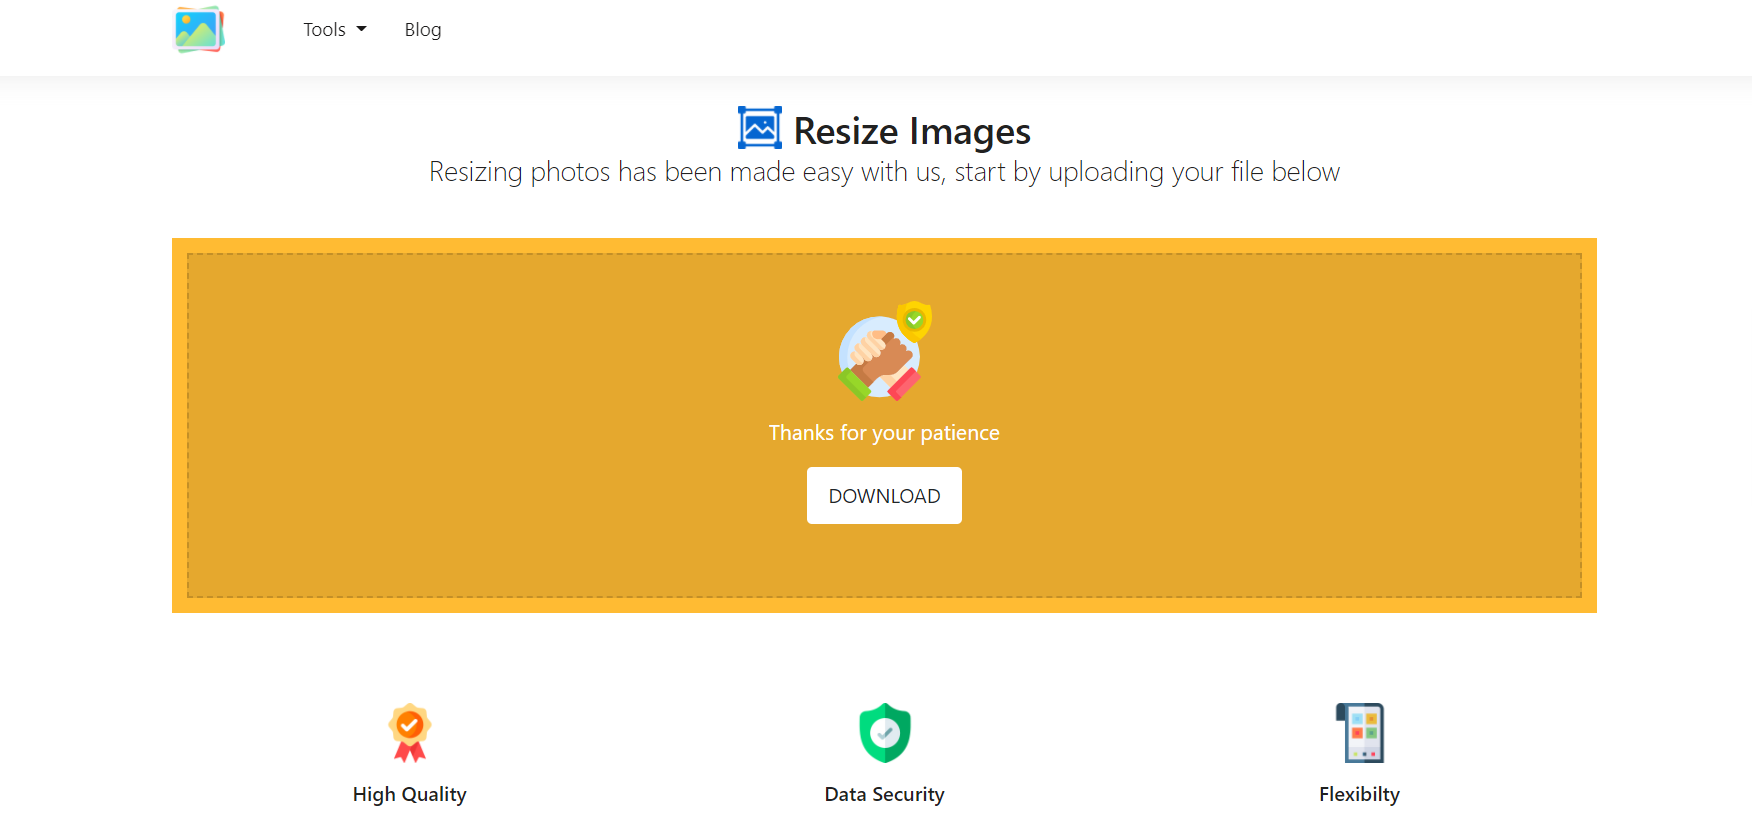
- To download the edited image, select the download option.


